Garden Room Heat Recovery Extractor Vent Installation
Note: Suedwind have now updated their product range and my exact model may no longer be available. The installation will be very similar across all their new models.
This is the first of my posts on a specific component of my DIY garden studio build. In this case, the heat recovery extractor vent installation, where I’ll cover the basic install and some of the unique problems you have to overcome with a timber studio install vs a traditional home installation.
The installation process will vary depending on what stage of your build you are at. A retrofit in an already built studio might be more difficult or not as tidy but it all depends on your construction.
My wall construction is as follows, from outside, in:
- 12.5mm Fireproof board
- 25mm treated battens
- Tyvek breathable membrane
- 12mm marine ply
- 70mm treated timber studs
- 70mm PIR foam (between studs)
- 25mm battens
- 25mm PIR foam (over studs, between battens)
– with channels for wiring - 18mm plasterboard
- Fully skimmed/plastered (3-5mm)
Total Wall thickness: ~167mm
I started my extractor install during first fix electrical. My timber frame was up, roof on, doors in and weather tight. I paused when appropriate to handle external cladding, plaster-boarding, decorating and finished the install during second fix.
Your wall thickness is very important as you need enough depth to accommodate the heat exchanger and filter. Sudewind cite 250mm as a minimum but it’s more if you also want to fit a silencer (additional foam insert).
250mm is quite thick, even for clad and insulated timber stud framed walls, but don’t worry, I have a solution for that.
I covered why I decided I wanted a heat recovery extractor for my garden studio and how I chose the Suedwind Ambientika in this previous post…
I’ll start at the end. This is my finished garden studio and Ambientika vent installation (the garden paving is a job for the Spring).
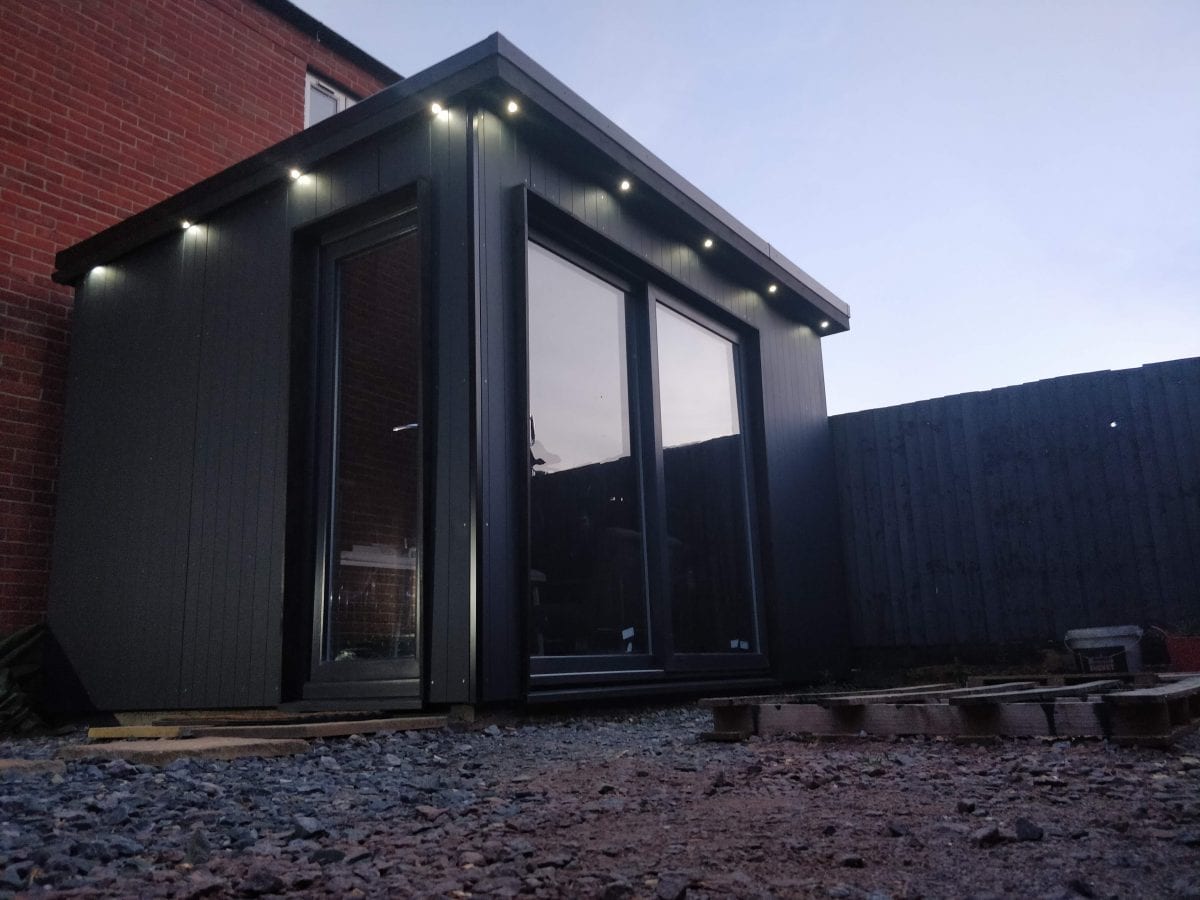
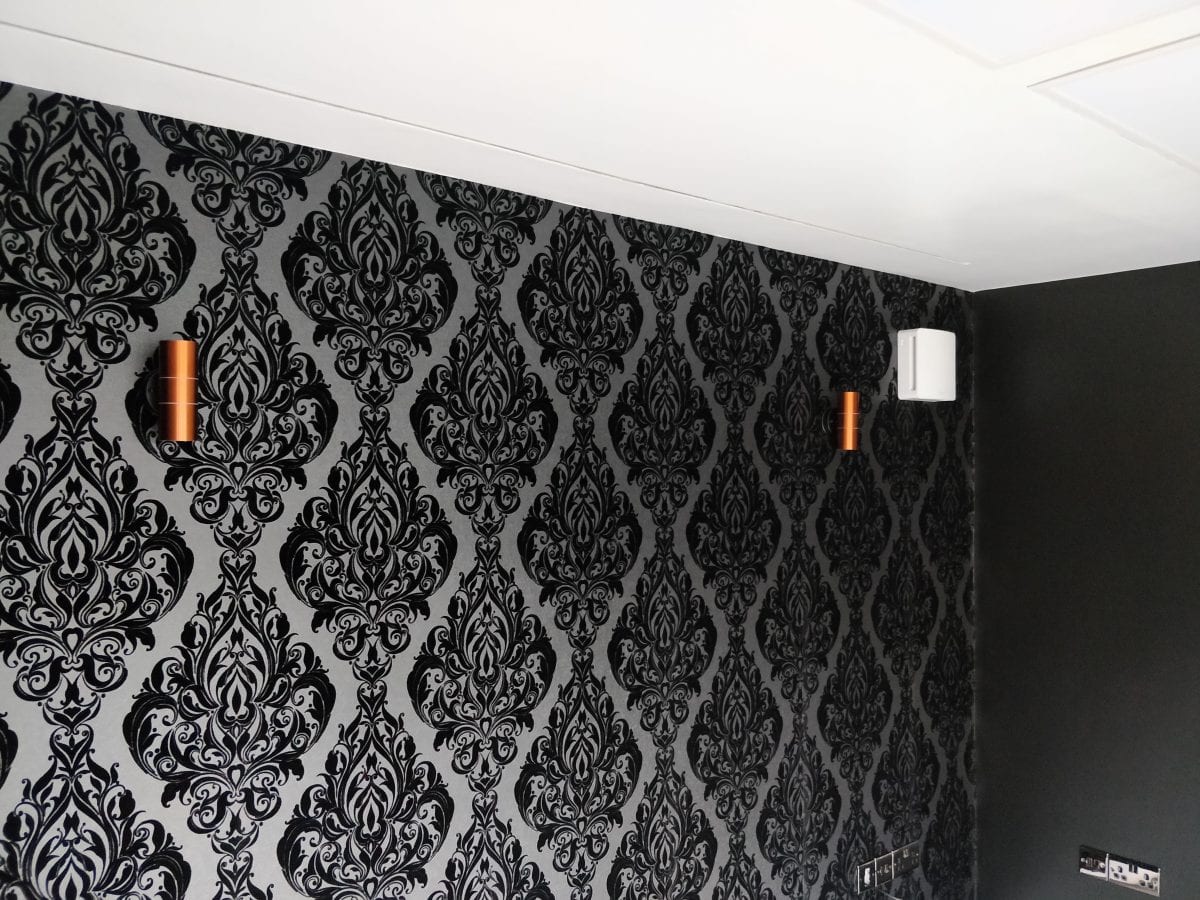
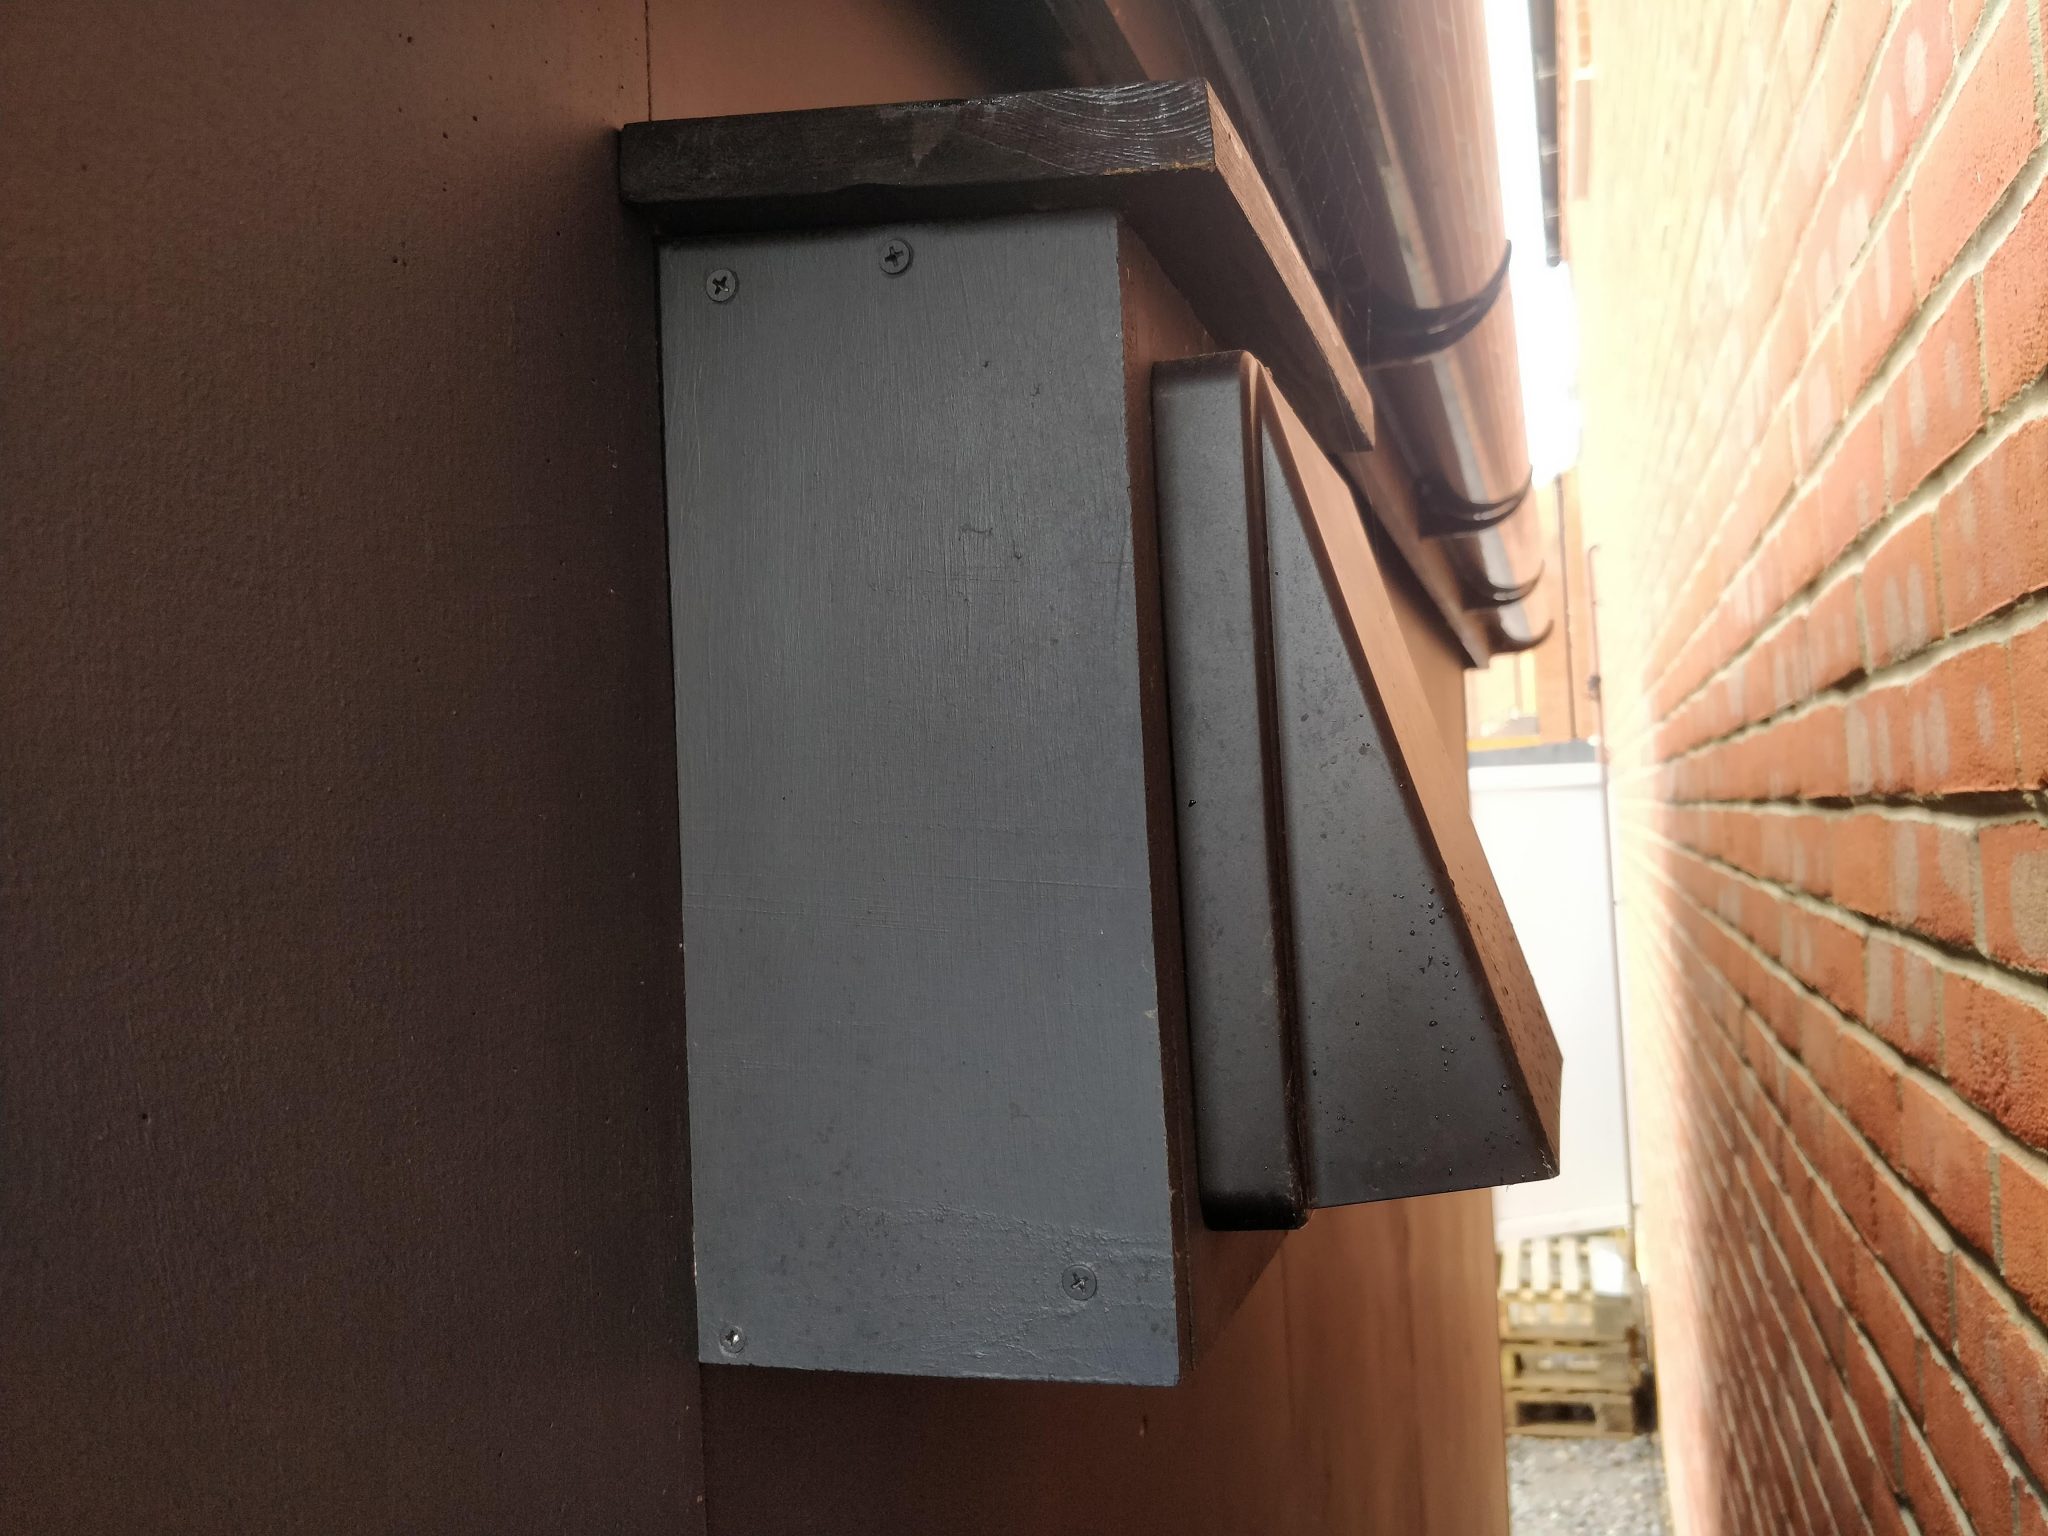
Keeping your garden studio’s temperature comfortable while allowing ventilation to prevent it getting damp is an interesting problem that in my case I’ve found the Suedwind Ambientika extractor vent solves very well.
What’s in the box?
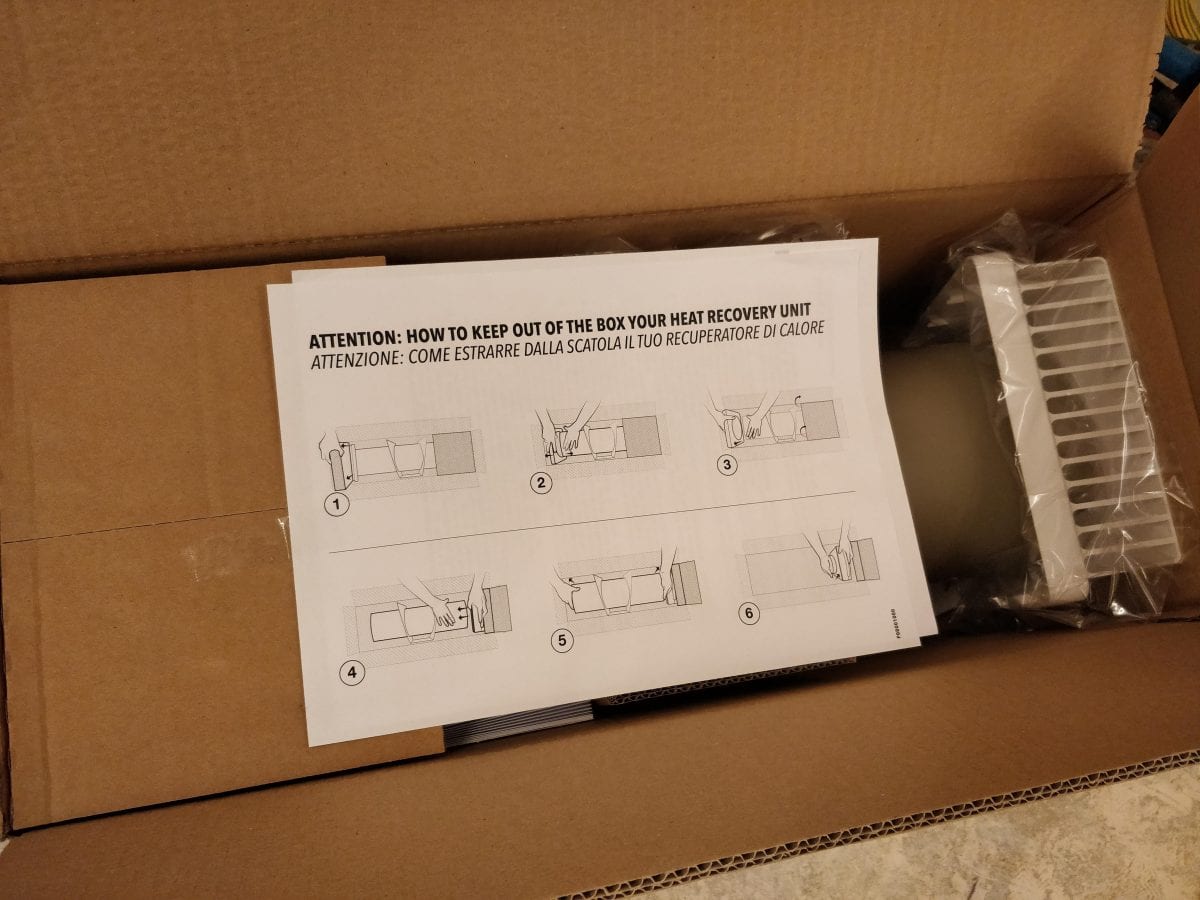
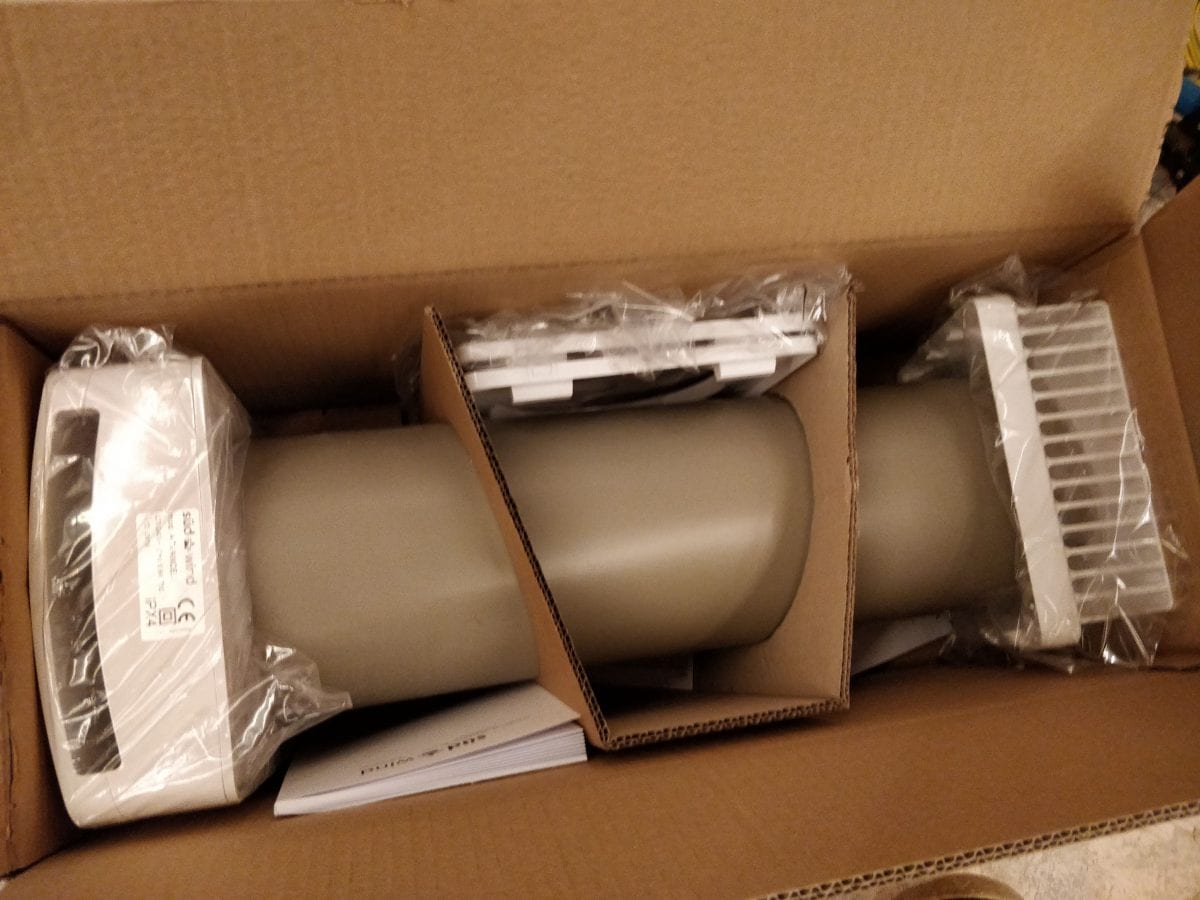
There’s the main fan unit with internal vent cover, 50cm of ducting containing the ceramic heat exchanger and filter, the mounting plates and the external vent cover, plus instructions. “Advanced” models come with a remote.
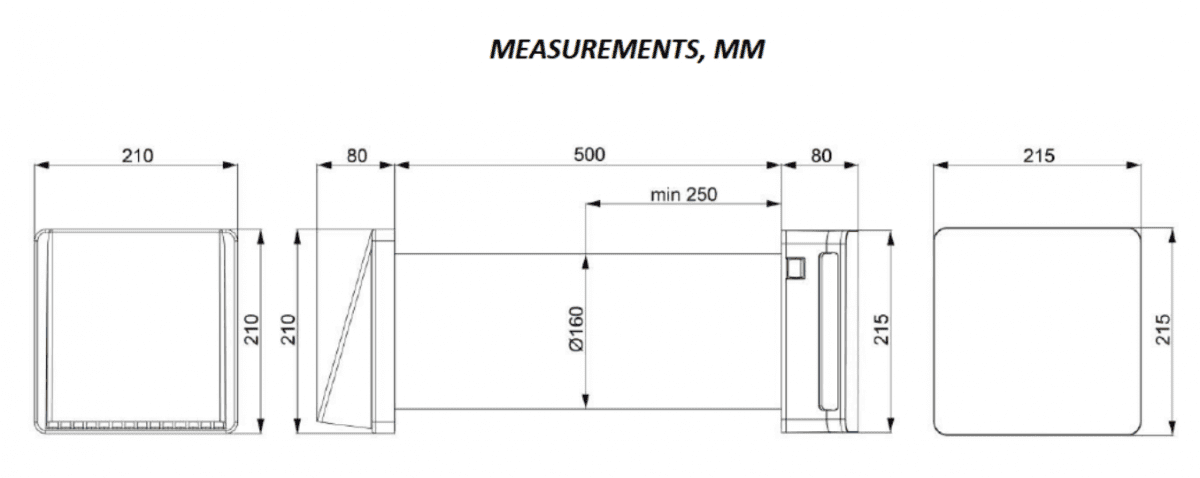
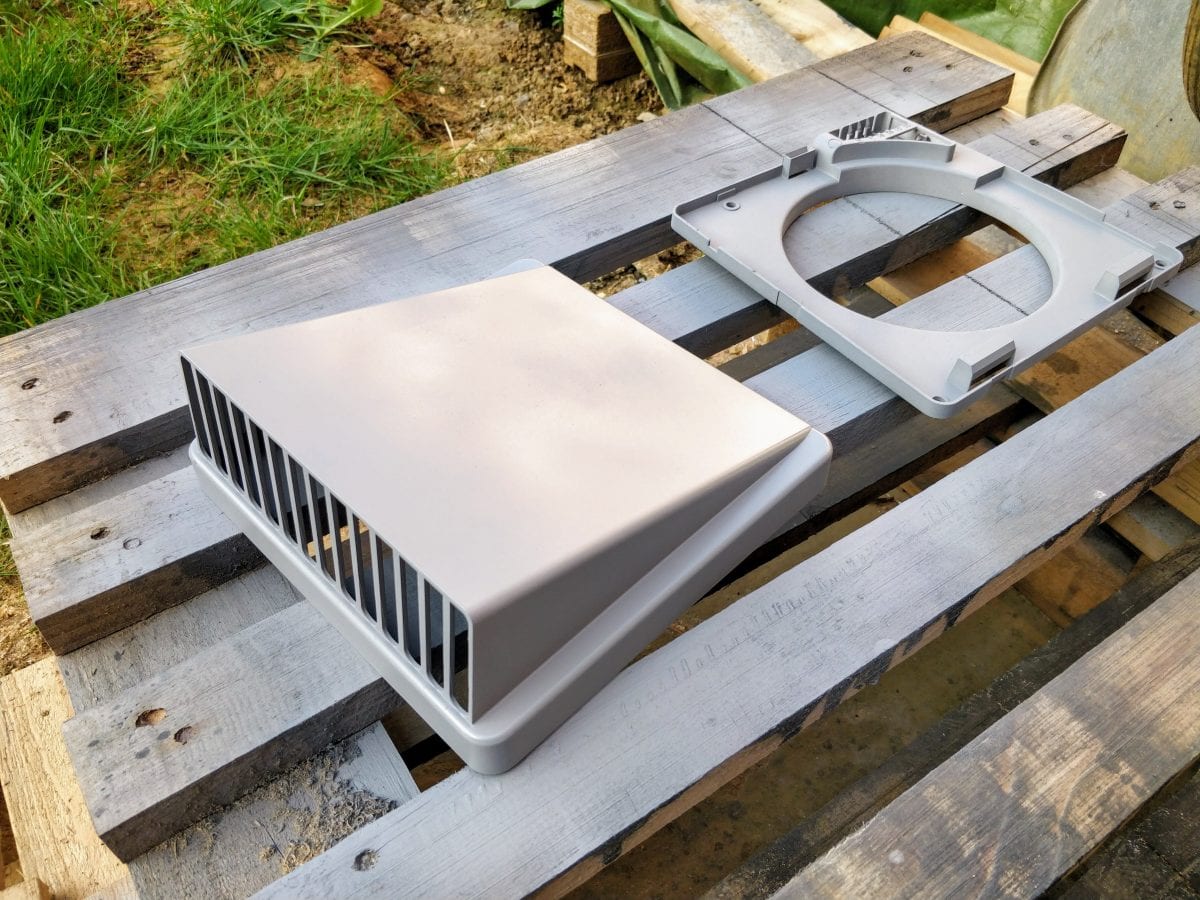
(External vent cover on left. Larger, internal vent cover on right)
Here’s how my installation went…
The very first step was to choose an appropriate location. I wanted it on the back wall, so the external vent wouldn’t be easily seen from the garden.
The Ambientika instructions can be a little weird to understand (while there is an English section, the translation isn’t great). I think they request that once installed the fan blades should be around 2.3m from the ground. For garden studios with sometimes limited roof heights this may not be possible, but you ought to be able to get close.
My aim was to place it as close to 2.3m as possible, while not cramming it right up to the ceiling or against the wall. I chose to leave 25-30cm between the fan edge and the wall/ceiling allowing room for airflow around the top and side.
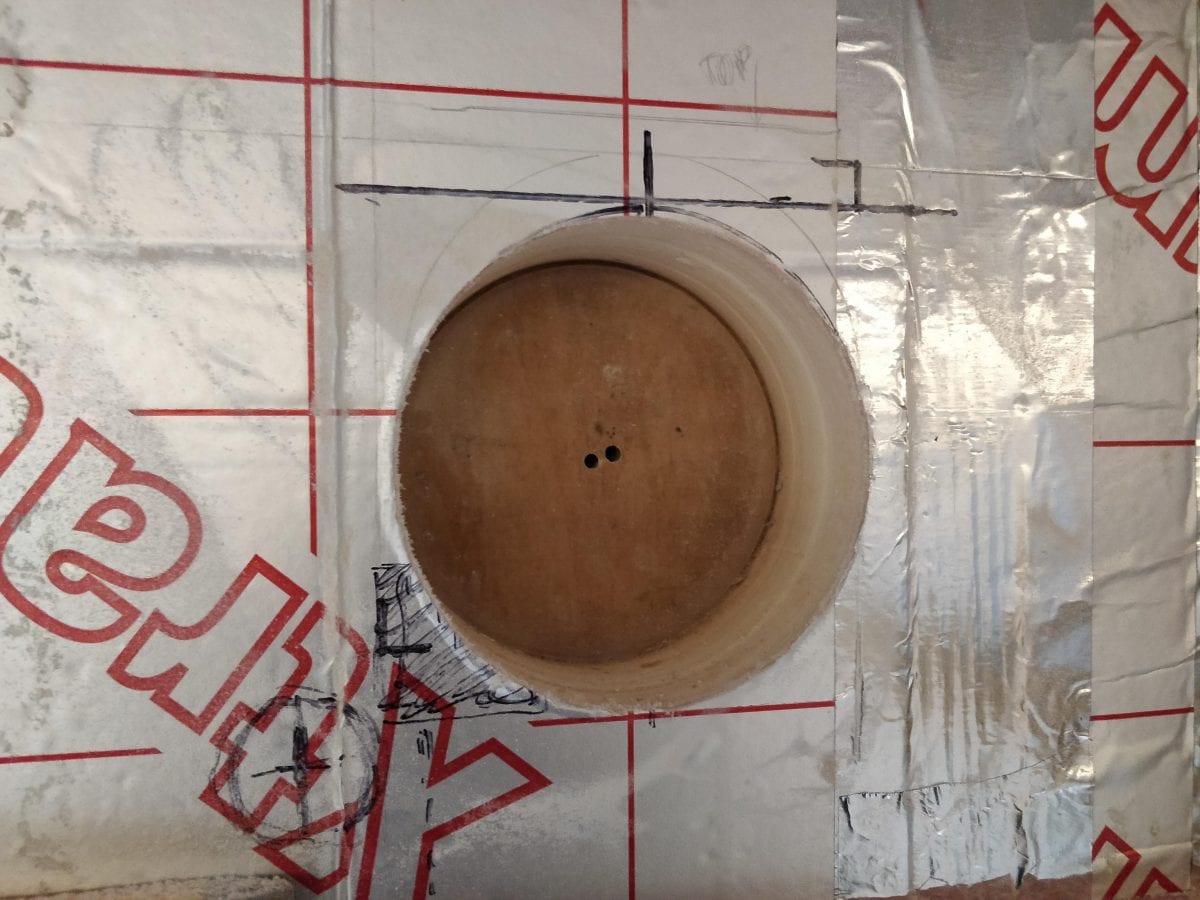
Time to drill the biggest hole I had ever drilled. 160mm diameter through the entire wall thickness!
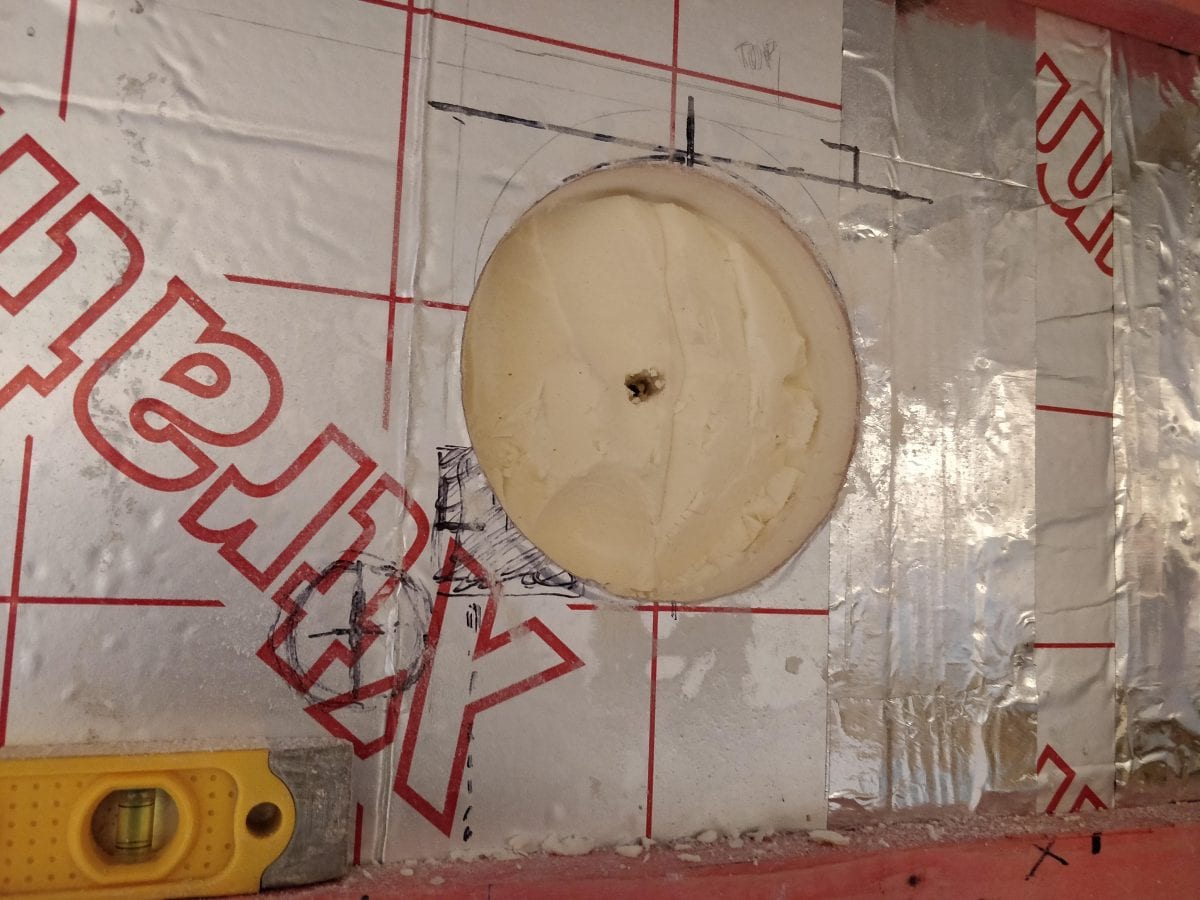
Black pen in the bottom, left corner shows where the cable needs to be run
I hadn’t yet put up my plasterboard, so I cut directly into the 70mm PIR insulation.
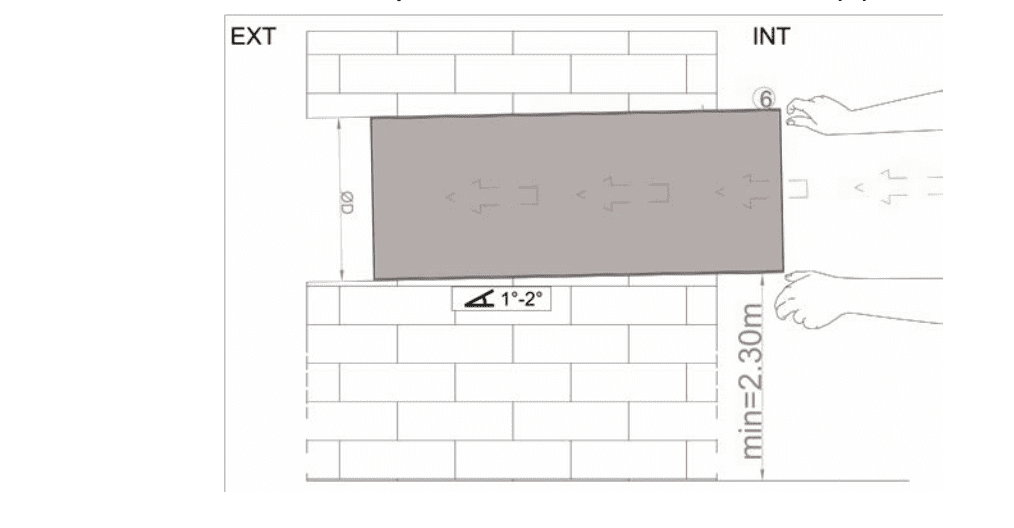
The hole needs to drop down between 1 and 2 degrees to ensure any condensation or moisture drips to the exterior and not into your expensive new fan and interior.
My cheap hole saw only had a cutting depth of around 35mm so it would take me a few passes to get all the way through.
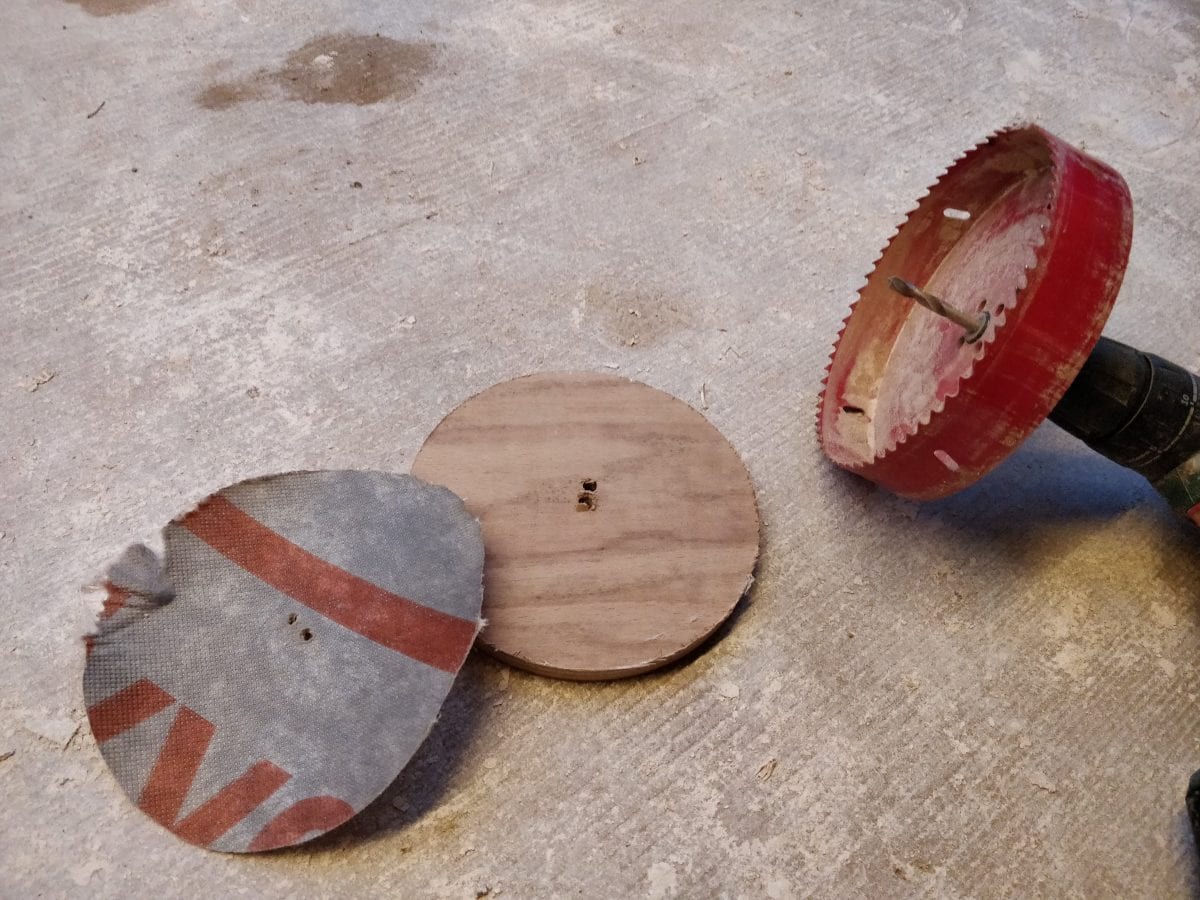
I had not yet done my external cladding and my expected total wall thickness was only going be be around 167mm. The instructions list a minimum wall thickness of 250mm plus I had a silencer that added/required another 50-70mm, so I had to build myself a little extension.
The vent silencer I purchased is available on Amazon. You’ll need to select the size to match your vent, in my case this was 160mm. It is essentially a piece of foam with inserts you remove to adjust the silencing effect and airflow.
I’ve set mine up for maximum airflow and the silencing effect is still quite effective.
Anyway… back to that wall extension….
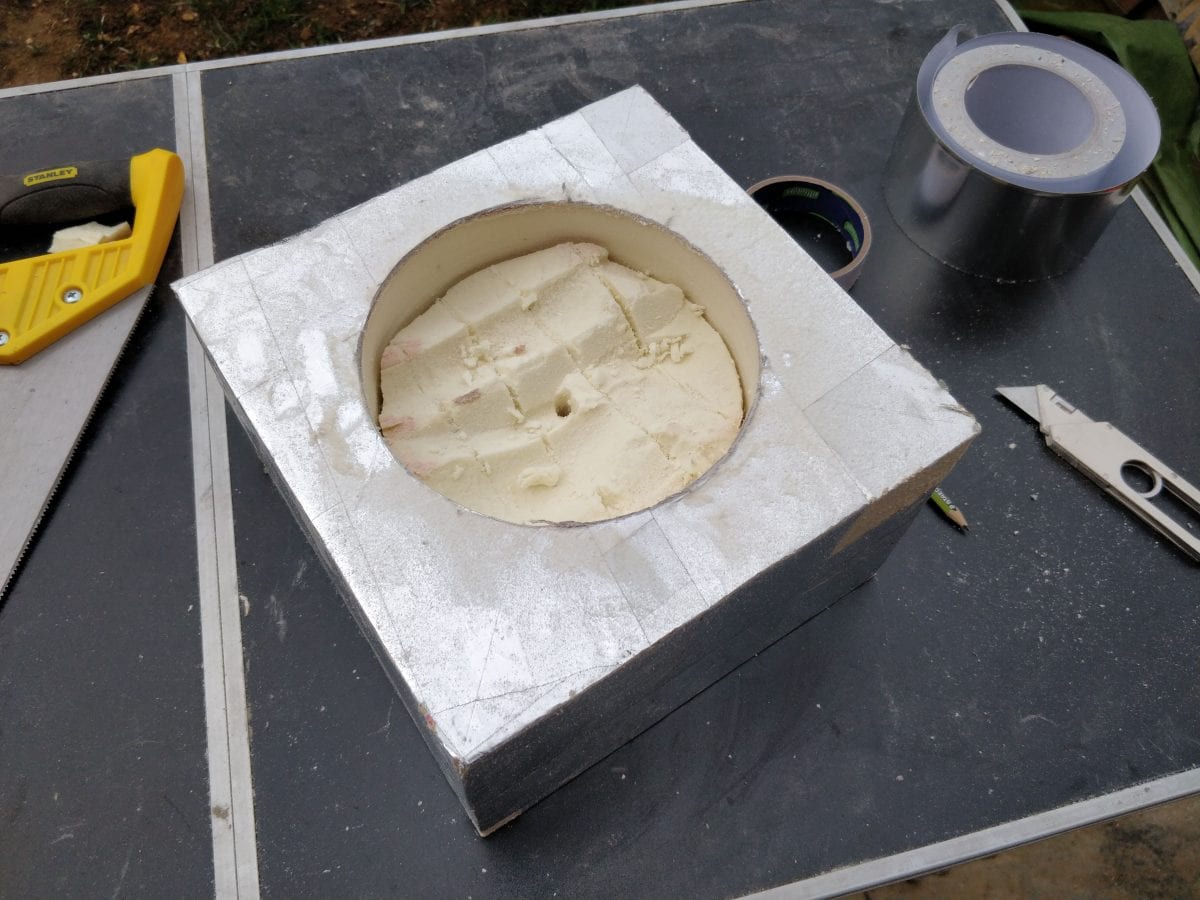
Knowing this extension would essentially be housing my ceramic heat exchanger, I wanted it to be insulated to keep my precious heat protected. So some PIR off-cuts were held together with foil tape and then masking taped temporarily into place so I could continue drilling my hole from inside at the same slight decline.
With the hole cut, I built a frame from spare timber battens and clad with Enviroboard ready for paint. Even gave it a little timber roof (with a decline for rain run-off).
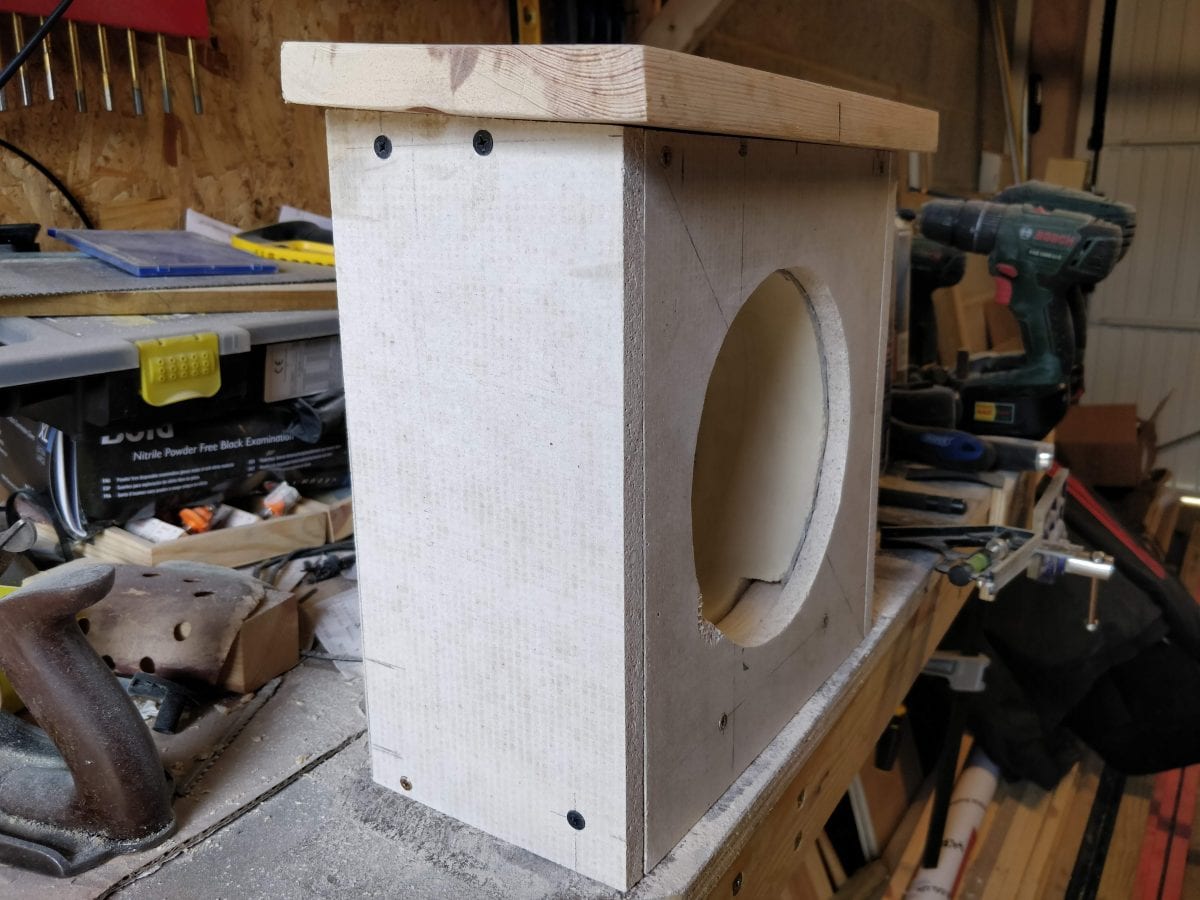
A spare piece of DPC (damp proof course) was stapled on for extra weather protection, and a flap cut in the membrane wrap Tyvek taped to the DPC to⁶ help guide any moisture away.
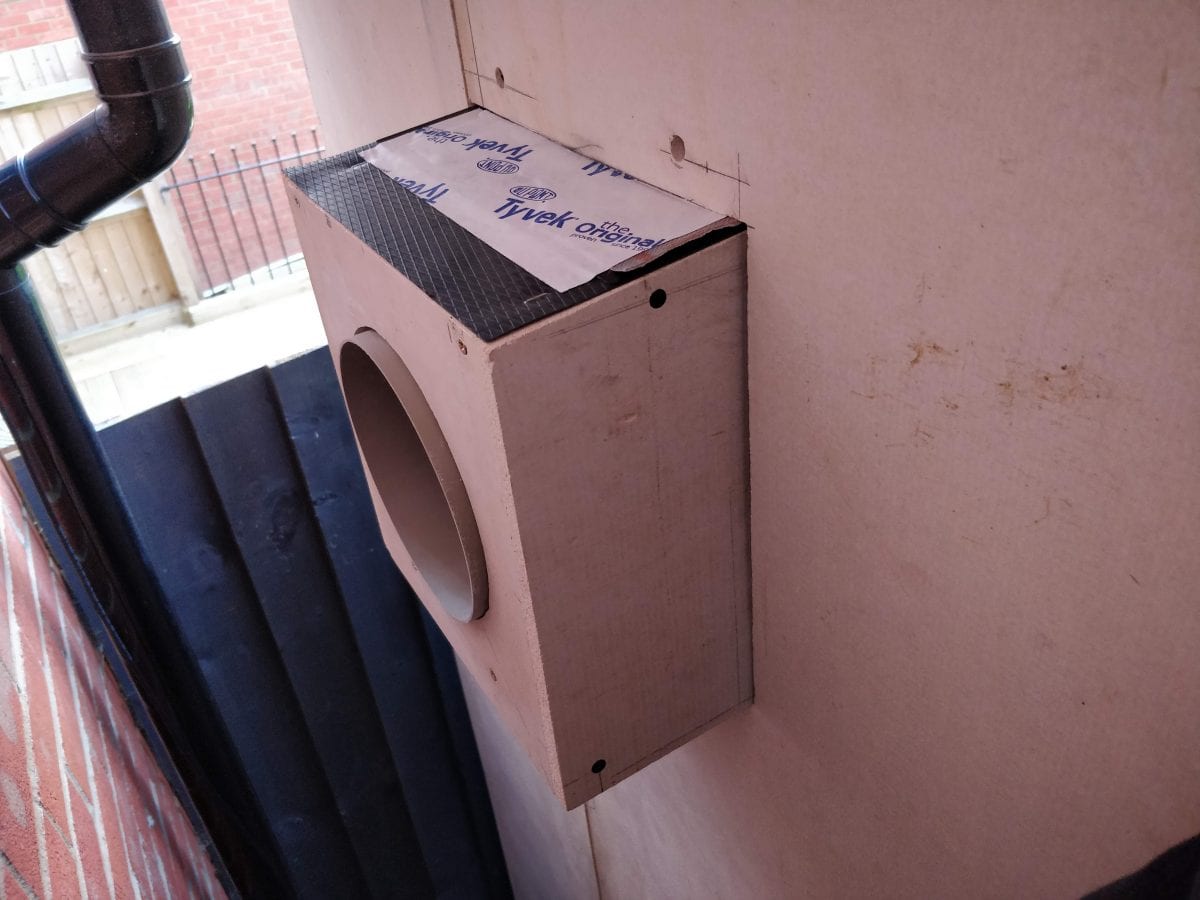
I’d leave the little timber roof off until after I’d painted.
After paint, it was actually time for more paint because the Ambientika external vent was white plastic and that wasn’t going to match my anthracite paint, not one bit.
Some light sanding, grey plastic primer, more light sanding and a can of satin black later, my exterior vent was looking the part and ready to be installed.
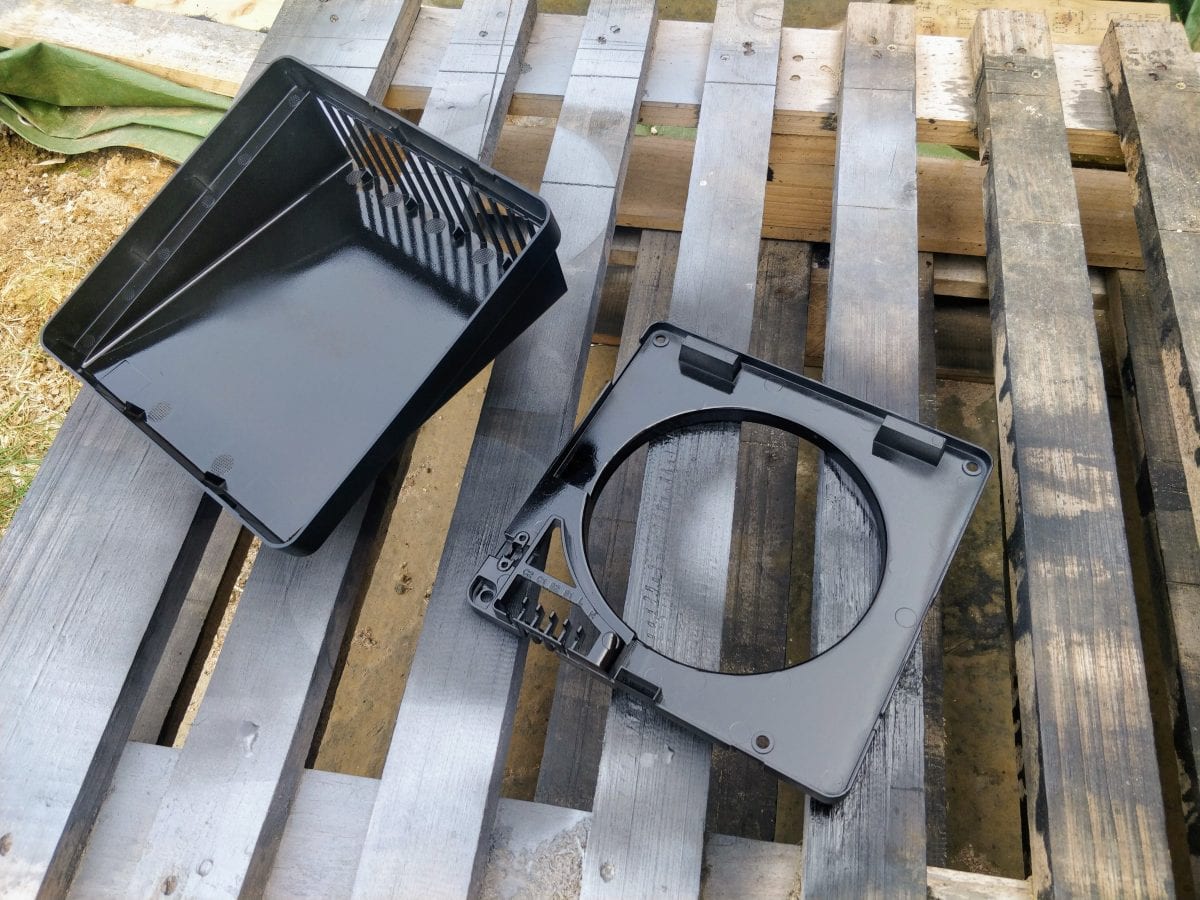
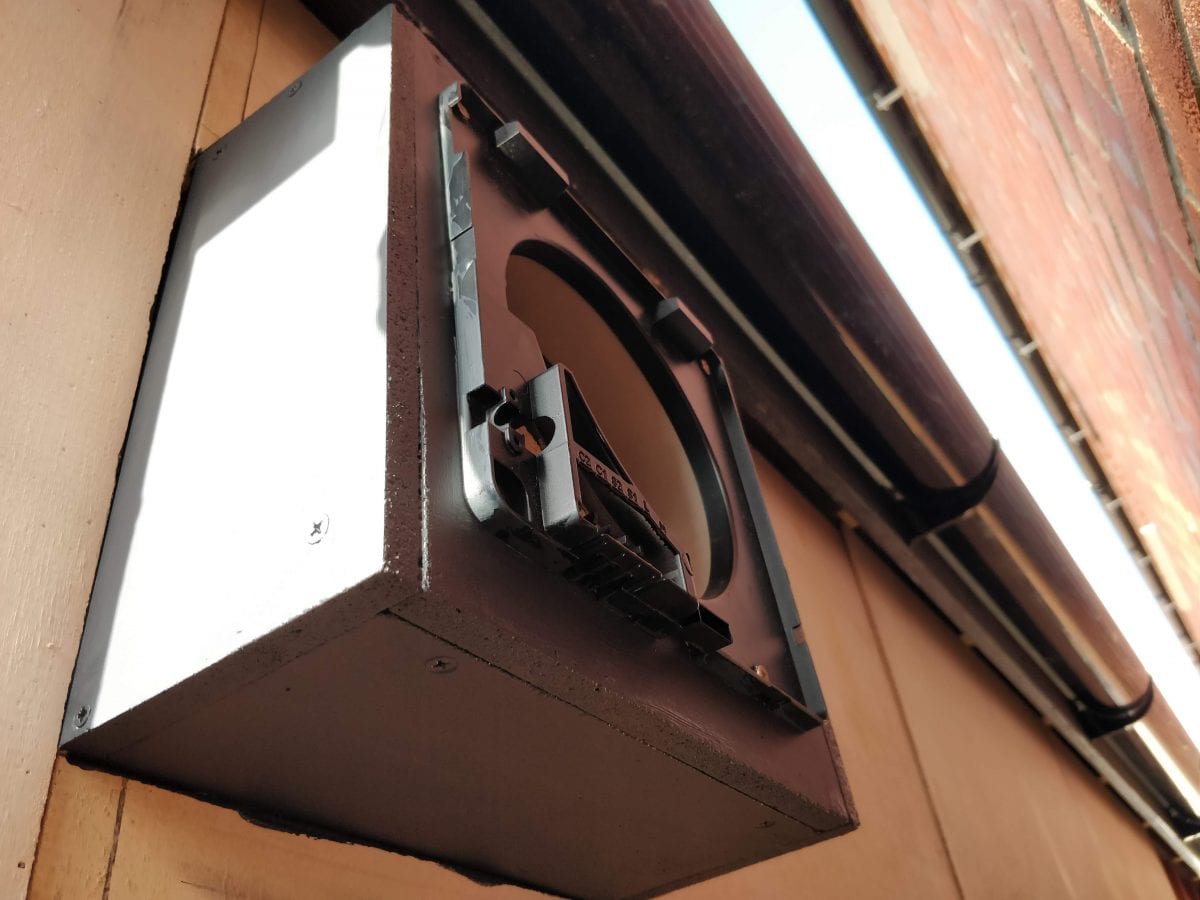
Once I was happy with the plate fitment, I went back inside, worked out my finished wall thickness, added a bit to be safe, marked the ducting tube, slid it out and cut it down to almost final size and pushed it back home (I’d trim it flush with an oscillating multi-tool after the plastering was done).
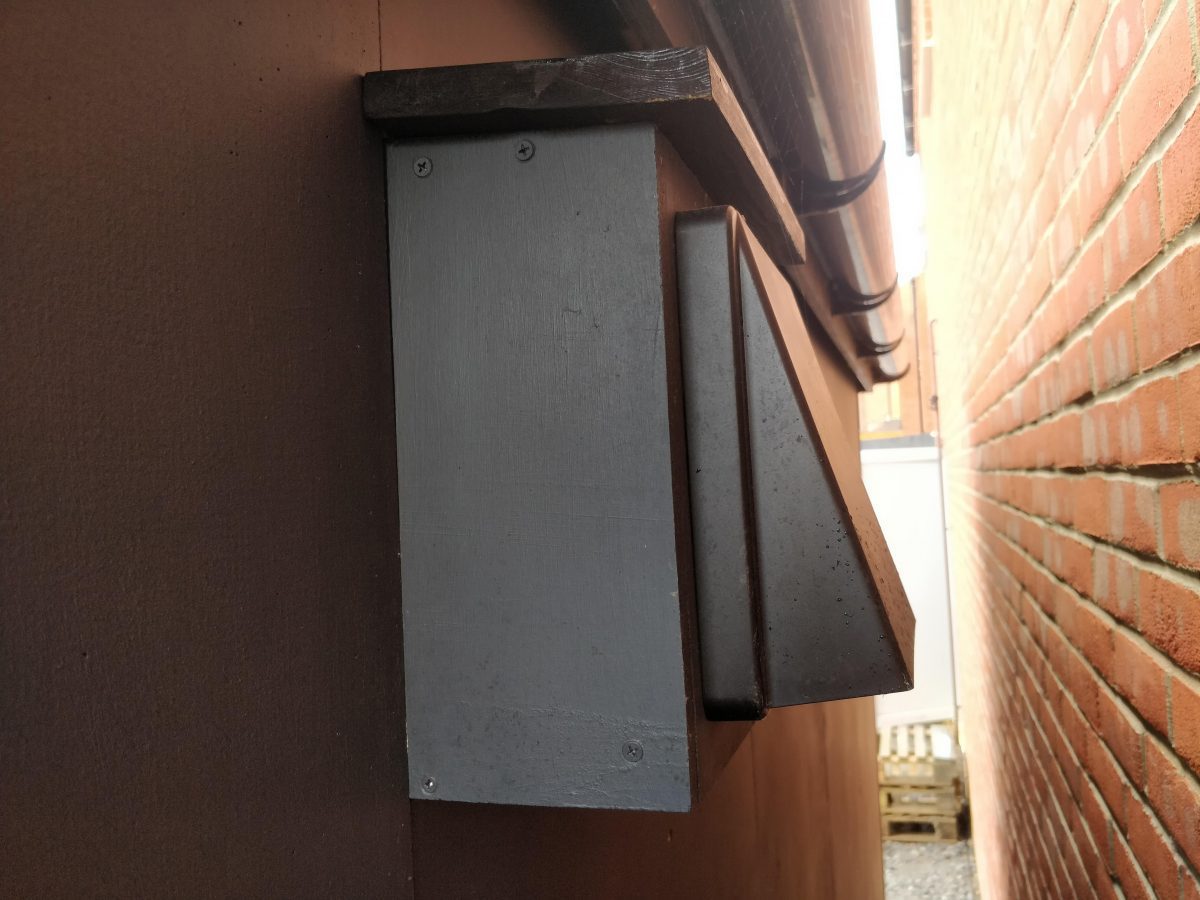
With the mounting plate installed, I decided to paint all the exterior cladding before clipping the vent cover into place and finally screwing the little timber roof down, finishing the exterior part of the installation.
Pretty smart end result, especially considering no one will ever actually see this from the garden.
Back inside it was time to do a little wiring.
Garden Studio Extractor Vent Wiring
If electrics aren’t your thing, this is probably going to look a bit scary but this was first fix for all the sockets in that corner as well as an outside socket and Ethernet cable.
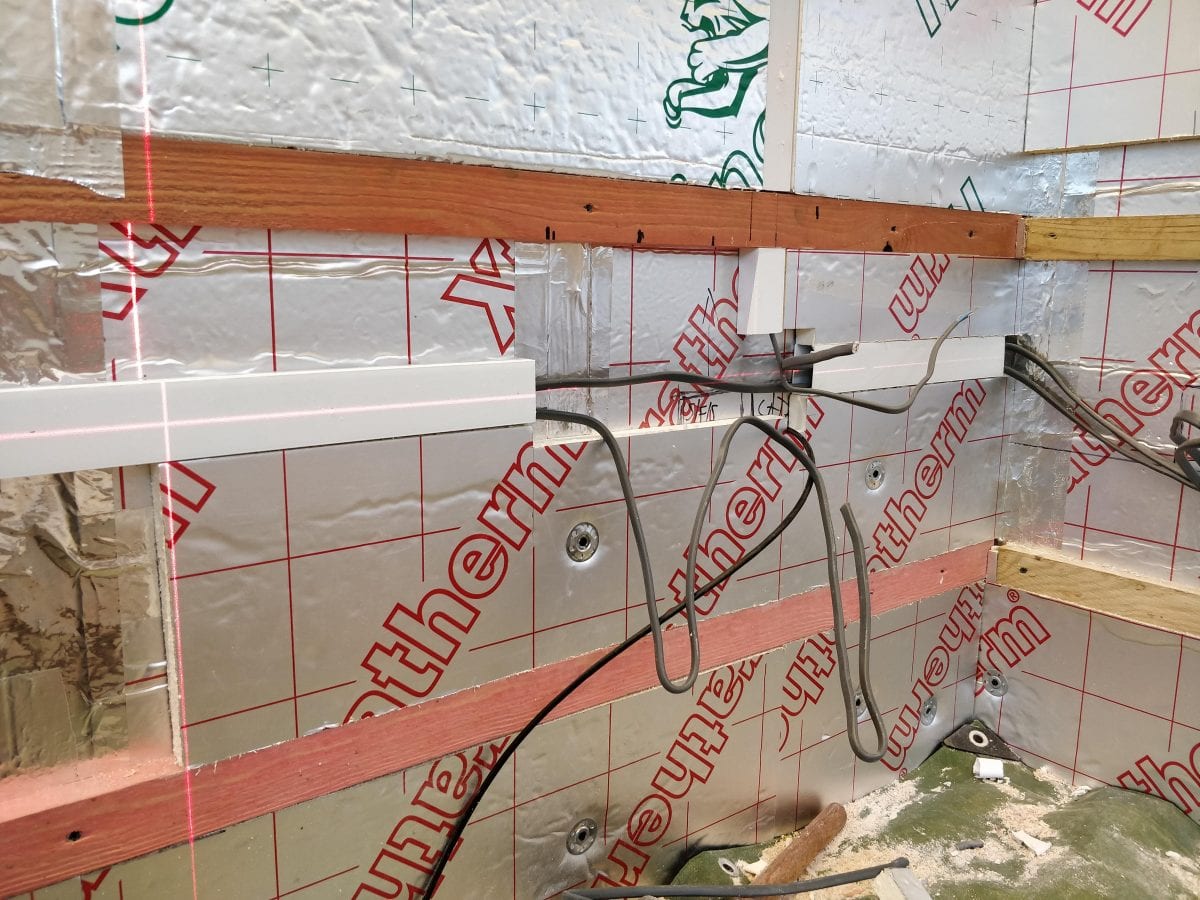
The extractor can spur off either your lighting circuit or your socket circuit. The important thing is that it’s fused. I ran 1.5mm twin and earth cable from the bottom left corner of the vent mounting plate, straight down to where I would fit a switched fused spur fitted with a 3AMP fuse.
Why 3AMP? Well because I asked the electrician and he told me 3AMP.
The Ambientika is entirely plastic and has no terminal to connect an Earth wire. I ran twin and earth because although it wouldn’t be needed now, maybe a future extractor would have an earth and it’d save future me fishing a new cable behind the wall (which I don’t find very fun).
So what to do with your spare Earth wire? Well, don’t leave it exposed and floating around in the wall. I sleeved mine, folded it over and tucked it into the space next to the terminal block.
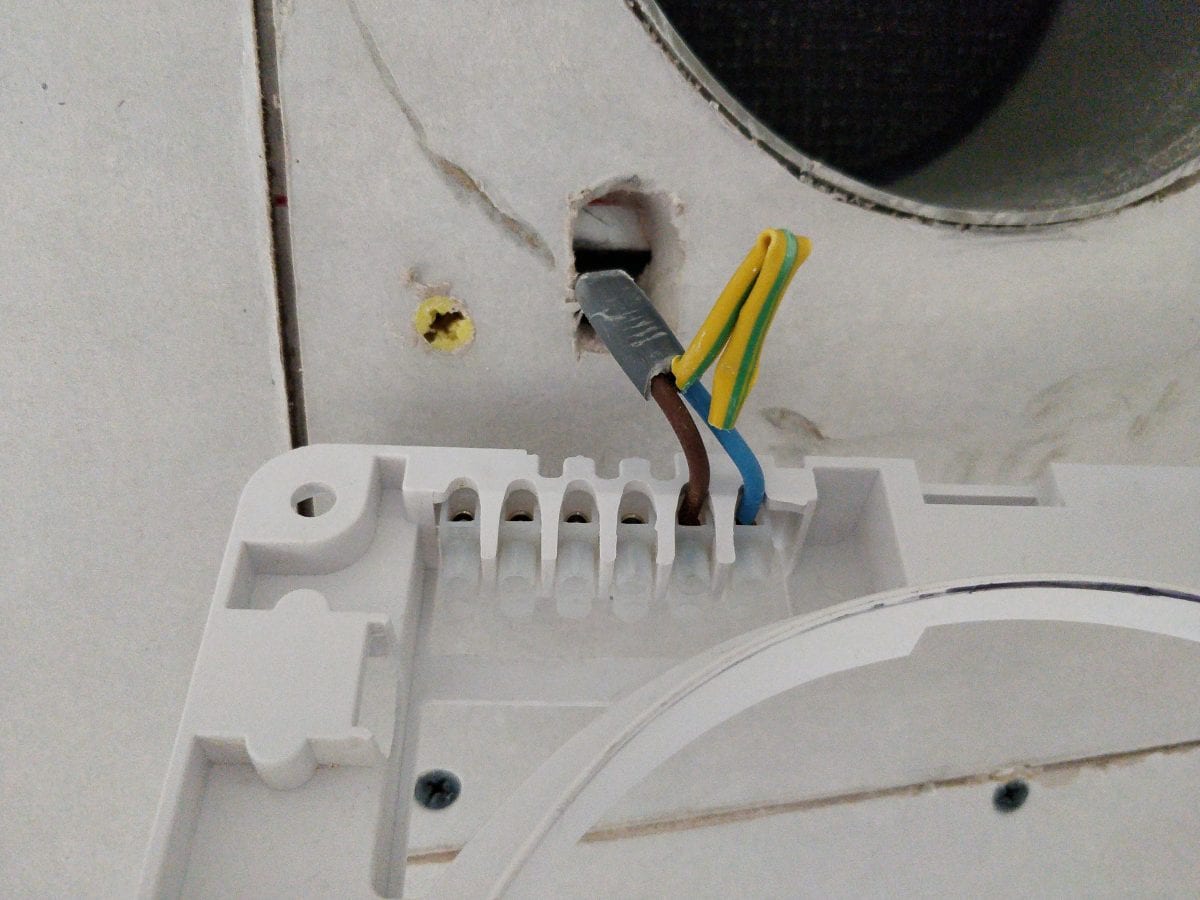
Unused, sleeved earth folded out of the way.
The vent is also designed to accomodate a piece of flex cable which would run on top of your wall from a nearby fused spur.
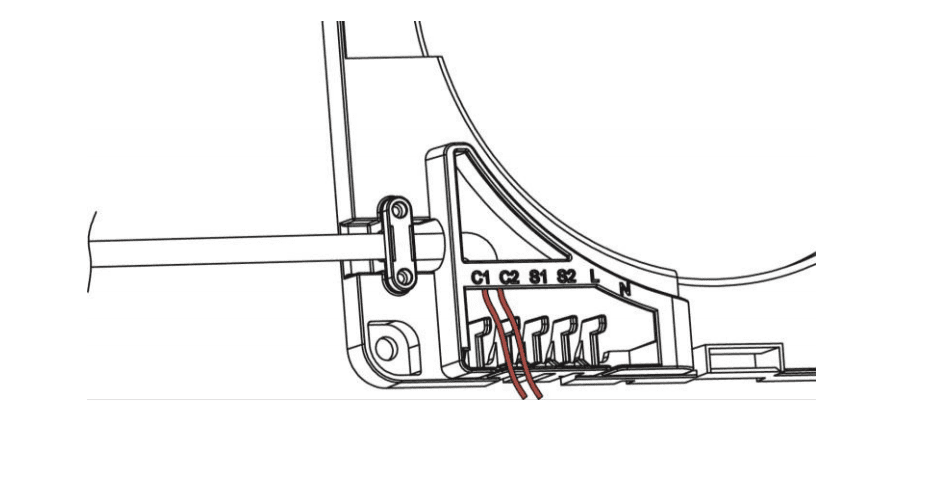
I won’t get into the full details of my first fix electrics and all that trunking in this post, I’ll save that for another day.
In short, my thinking was the trunking made for a tidy install. It could be stuck into place with double sided tape, which meant less perforations in my foil vapor barrier. And it would allow for easier fishing of cables if anything needed adding in future. My electrician was impressed but mostly at how OCD and over the top it was. He said it wasn’t necessary and clipping cables to the wall studs would have been sufficient. (I prefer OCD to just “sufficient” anyway).
I was able to pause my installation to do the rest of my first fix and have the electrician check it over before plaster-boarding.
If you’ve already got finished walls, you’ll be either fishing a cable behind your plasterboard or just using some trunking on the outside of your finished wall. I have even seen people run cables externally to keep their interior looking as tidy as possible.
Before plastering I still test fit everything up, which is why some of my photos look out of sync.
Once the walls were plastered, I could fit my back boxes (also called dry lining boxes). In my fan corner I had two single boxes and a double. These were for my CAT6 ethernet connection, the switched fused spur for the extractor and a standard double socket.
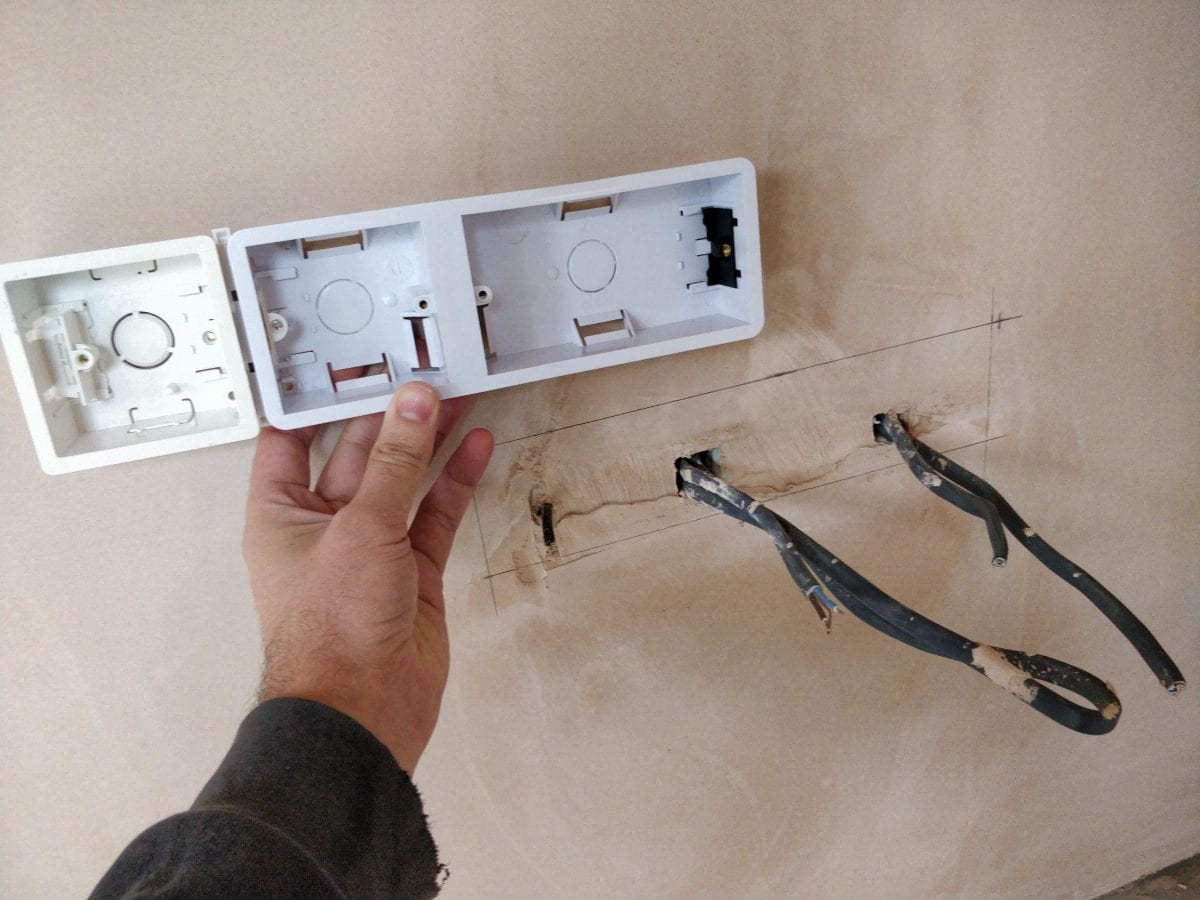
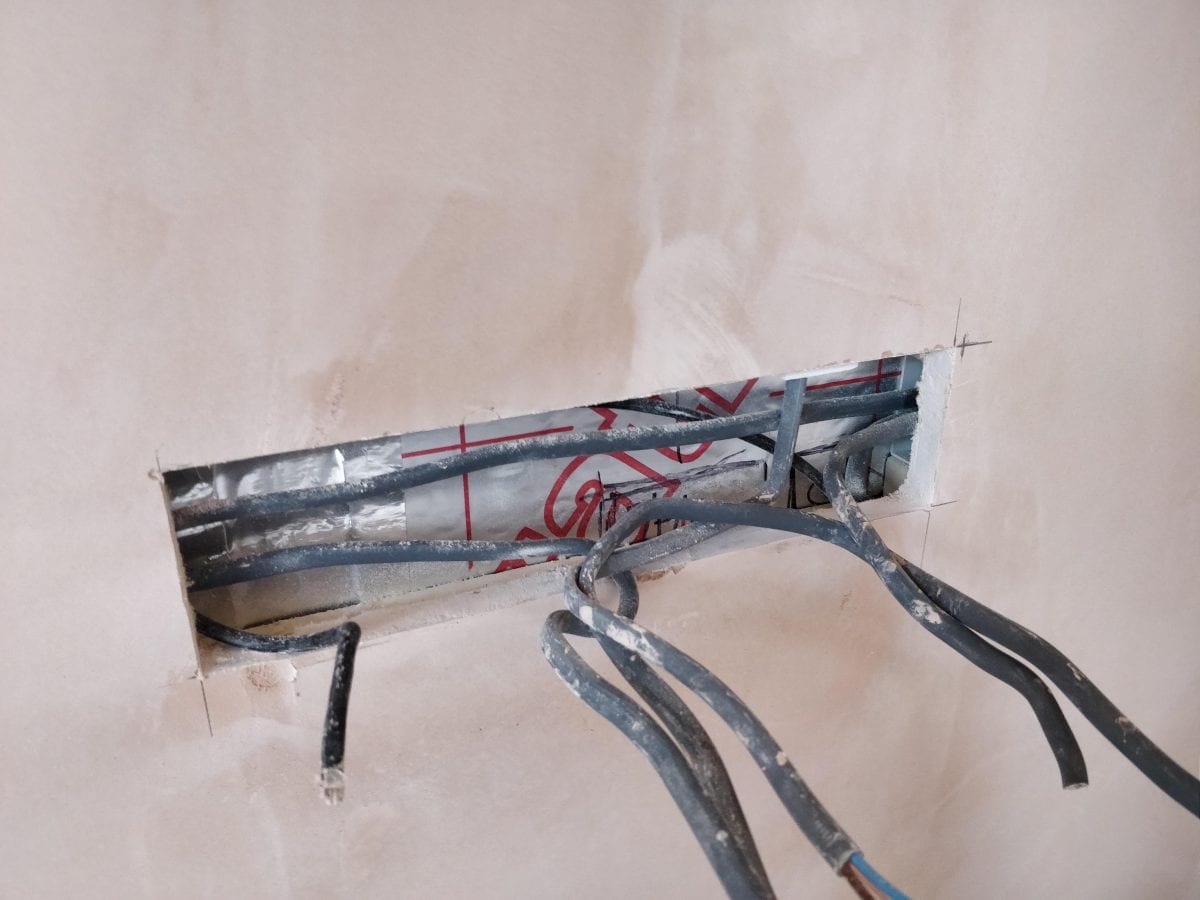
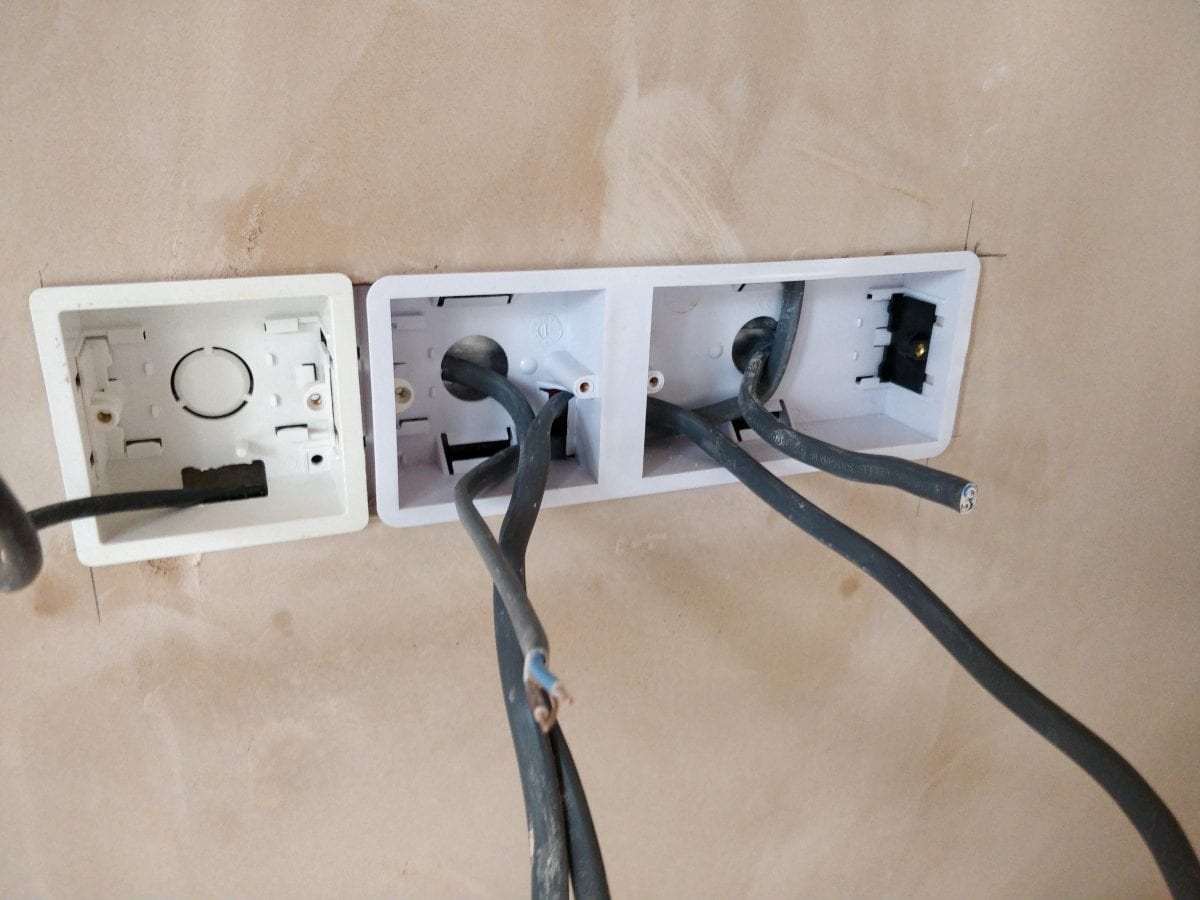
Because I put my extractor spur on my socket ring, you can see three cables in that middle box. That’s the 2.5mm twin and earth coming in from the previous socket, another 2.5mm twin and earth looping just next door to the double socket, and 1.5mm twin and earth that runs up to the extractor.
I wouldn’t fit the face plates until after the decorating had been done.
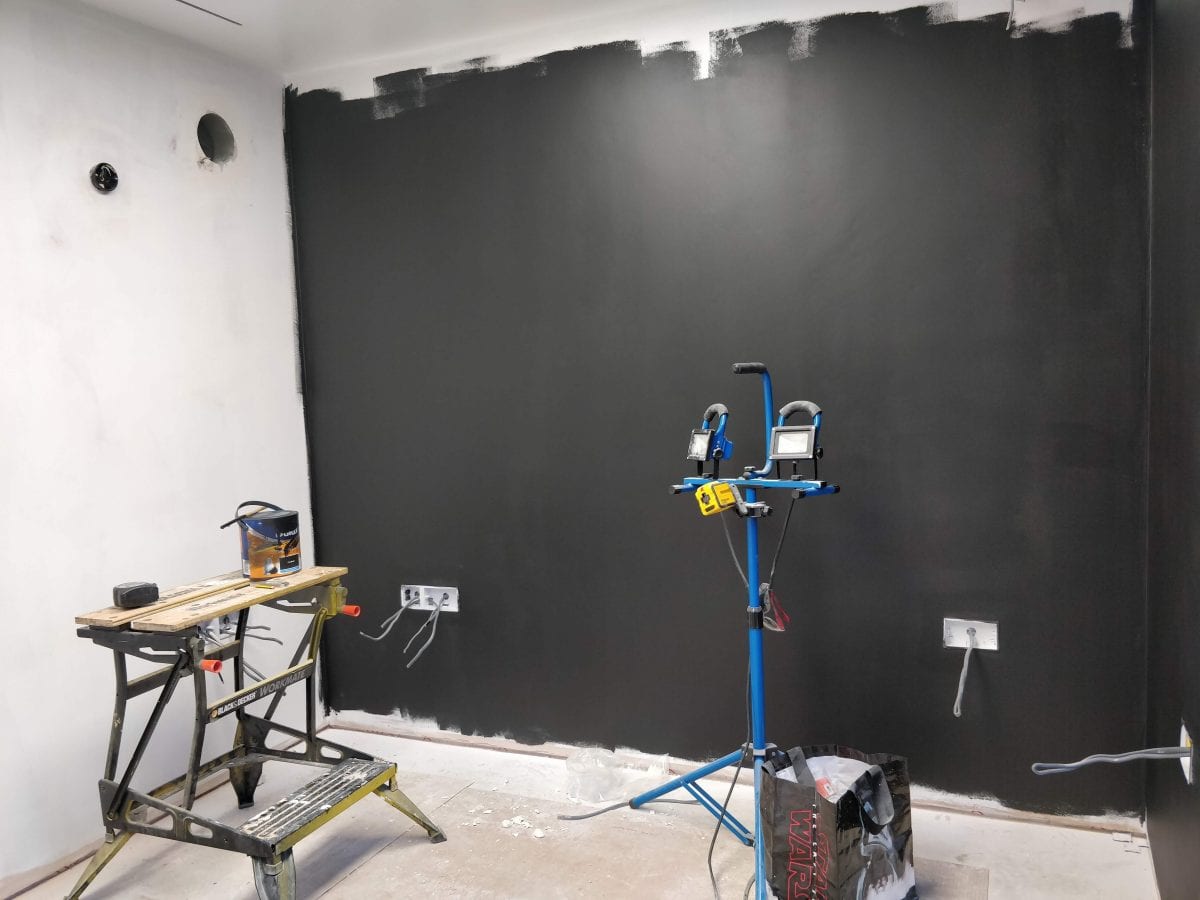
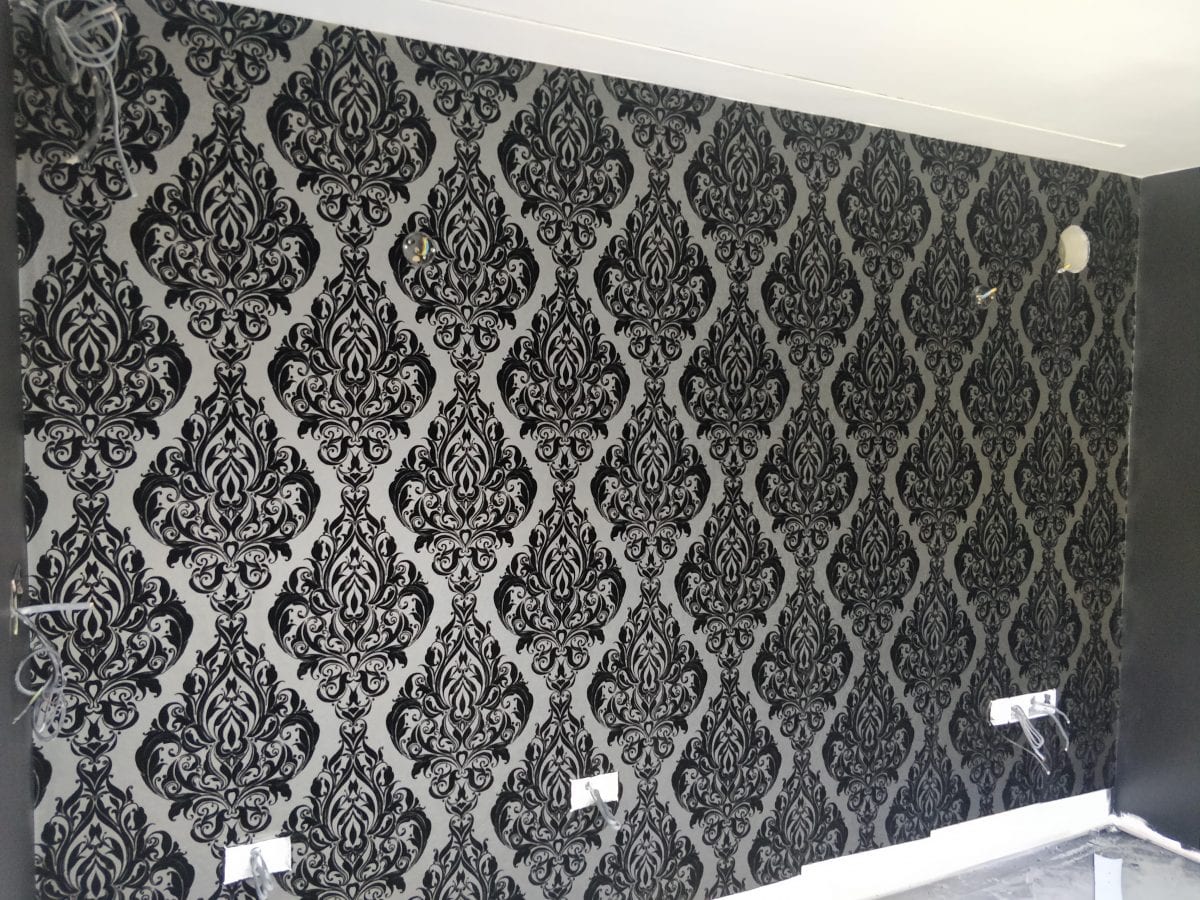
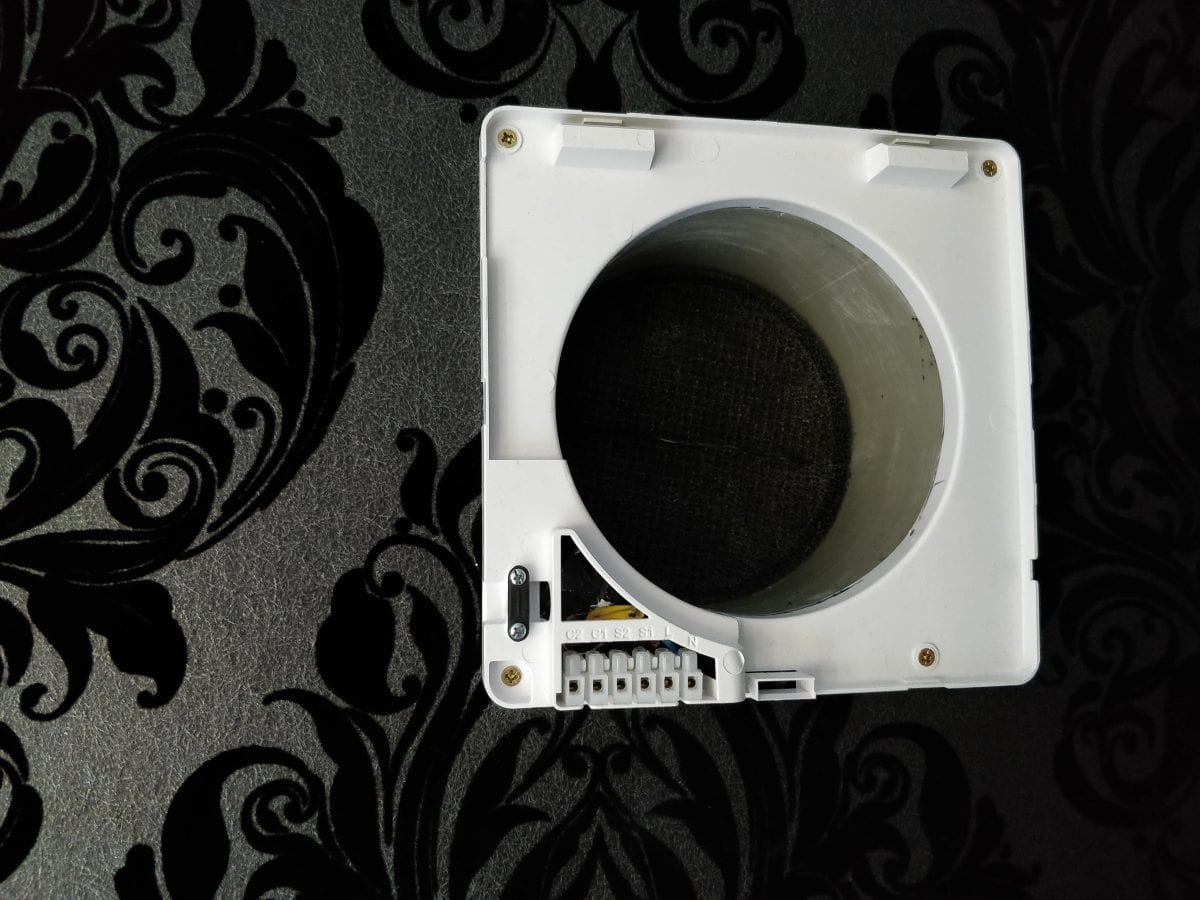
And only then, was it time for second fix electrics and to finally connect up the sockets and the spur. Which all fit snug to the wallpaper with no gaps at all.
You’ll need wire cutters to trim your wires back to length and wire strippers to expose the conductive wire core. A small flathead screwdriver is used to screw the wires down into the appropriate terminals.
Wiring up the fused spur is really straight forward. They’re usually labelled up so you can see which wire connects to each terminal. Terminals labelled “Load” are what you connect your extractor wires to. The blue wire is “neutral” (N), brown wire is “line” (L).
“Neu’ is blue” rhymes and helped me remember when I first started working with electrics back when I was only comfortable changing a plug.
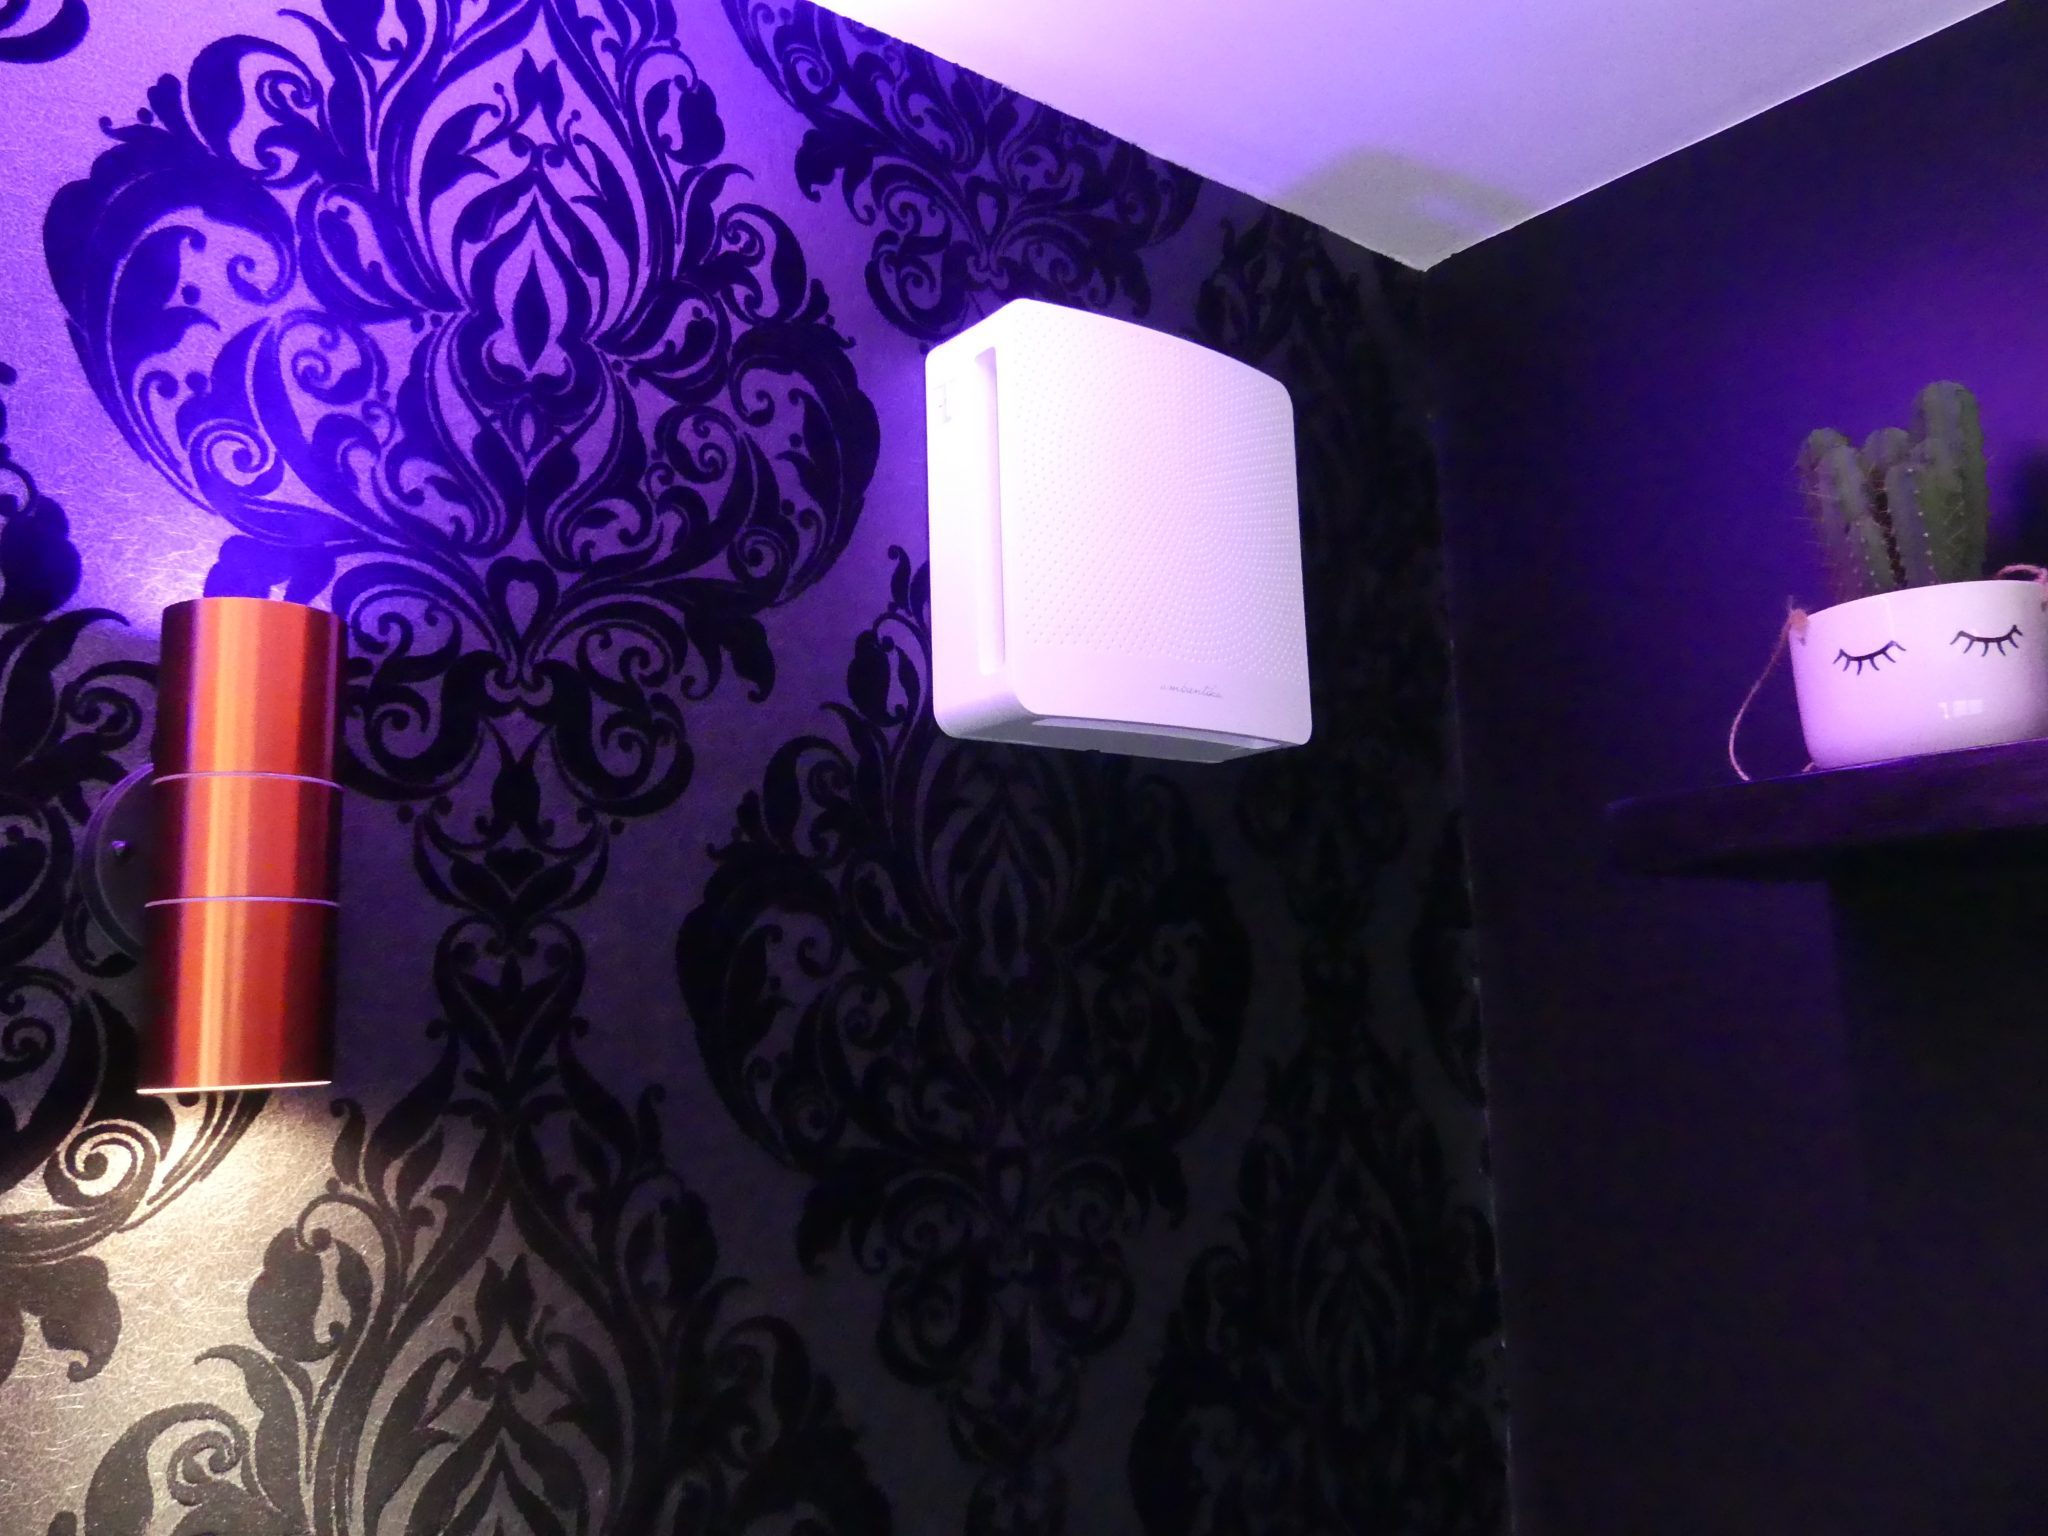
The mounting plate is screwed to the wall with appropriate fixings. Regular plasterboard wall plugs in my case. Your ceramic heat exchanger and filter is slid into your ducting tube, then the rest of the unit clicks into place.
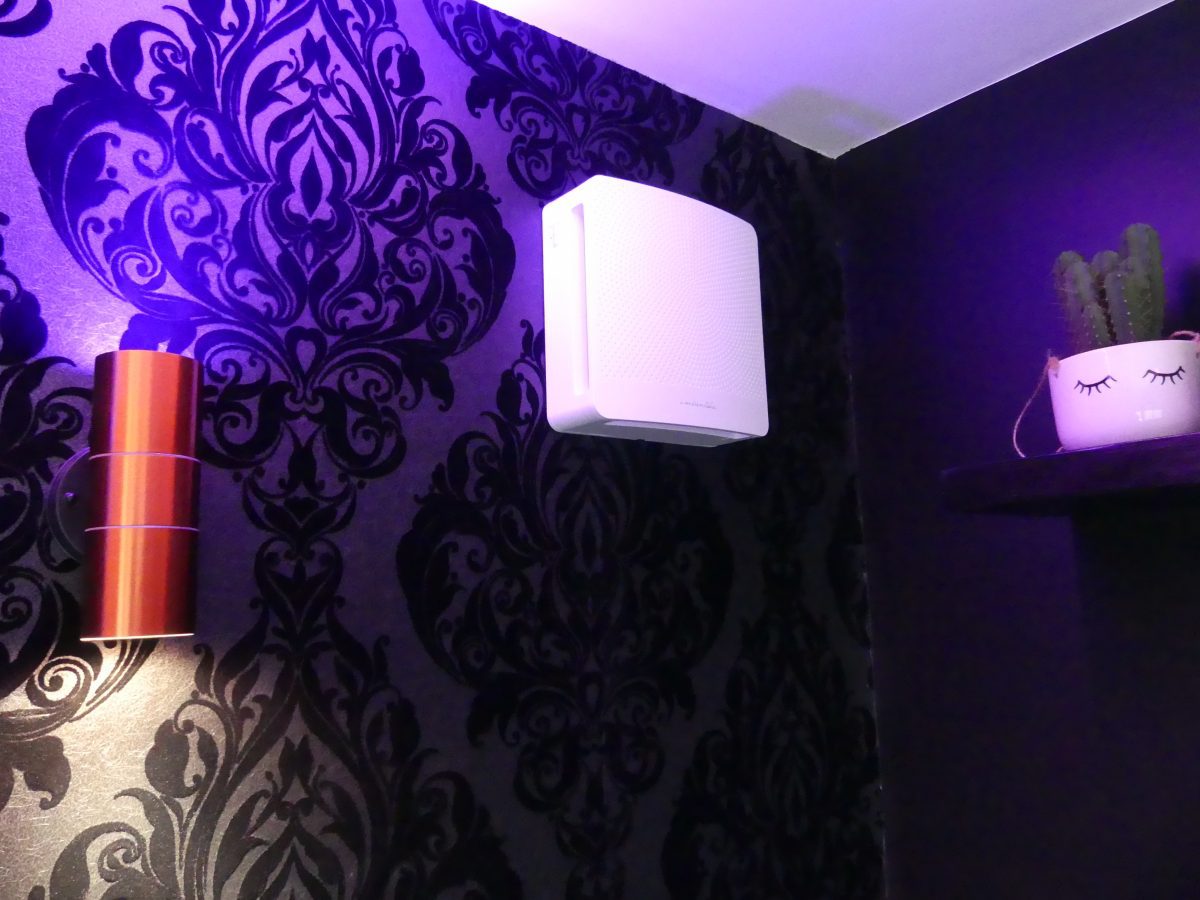
And that’s it. The heat exchanger vent in installed. I’m writing this 2 years after I actually completed this install and it’s been working flawlessly.
Every month or so the light on the front turns red to signal that it’s time to clean, inspect and potentially replace the filter. My ceramic core has only ever needed a bit of vacuuming and I sometimes give the filter a rinse under a tap but that’s all the maintenance that’s required.
The air in the studio feels noticeably fresh, the fan runs almost silently. It’s only audible on the rare occasion it kicks into its higher speed. And most importantly, YES, it keeps the heat in!
I can heat the studio in the morning and it tends to stay warm all day without the thermostat kicking the heating back on unless it’s particularly cold.
I definitely see the Ambietika install as a complete success and can absolutely recommend them for this purpose, even if it isn’t quite the application Sudewind intended.
I hope you found this useful.
// Matt

This is a fantastic guide Matt, really useful as I was thinking of installing one of these in my own garden studio project and there isn’t too much info out there. Good to hear it is still working effectively after a couple of years use. Thanks!
Hi Matt,
I’m in the final stages of completing our garden room and came across your very useful article about ventilation.
What did you get your vent silencer from for your Suedwind Ambientika unit?
Hi Steve, I got it from Amazon: https://amzn.to/3AdaVyc
You need to select the correct diameter for your vent. In my case this was 160mm.
The silencer reduces the air flow but you can choose how much by removing the various inserts. More airflow = less silencing.
I’ll add this information to the post.
Thanks
Sorry for the typo, I meant,
Why did you get your vent silencer from for your Suedwind Ambientika unit?