
This isn’t really my kind of thing, but 10 years and 100,000+ miles takes it’s toll on a car’s interior. To roll back some of the years I thought I’d have a go at deep cleaning the seats and carpet with a Bissell carpet cleaner, what’s the worst that could happen?
There’s no cool way to say this, but I borrowed the carpet cleaner from my mum and she showed me how it worked (thanks mum). It has a hand-held attachment for upholstery which seemed like it would work great for cleaning up my seats and carpet and it didn’t disappoint!
I won’t go into the seat removal, I’ll save that for another post as we’re talking general upholstery cleaning here. However, for the uninitiated, if you’re going to remove your seats or anything that contains an airbag, you need to disconnect your battery first.
After thoroughly vacuuming the seats, cleaning them with this Bissell gadget was pretty simple. You fill it up with detergent and warm water, fire it up and spray the solution into the fabric while you work out the dirt with the integrated brush. The end of the brush vacuums the dirty solution out of the fabric and into a separate container, so you’re not spraying dirty water back into your seats, and not leaving the seats soaked through.
I did a panel at a time so that I wasn’t leaving the solution to soak into the seat for very long. This seemed to work pretty well, as once I’d done a whole seat it only felt damp to touch and not soaking wet. Also, if you do just part of a panel it’ll probably dry with a water mark so I’d avoid doing that.
Here the seat on the right’s been done and dried overnight, the left seat is what they both looked like to start with; filthy!

The Bissell needed refilling and the (absolutely disgusting) dirty water poured away a couple of times to do the all the seats. When they were all done, I left them in the conservatory with a heater on to help dry them out.
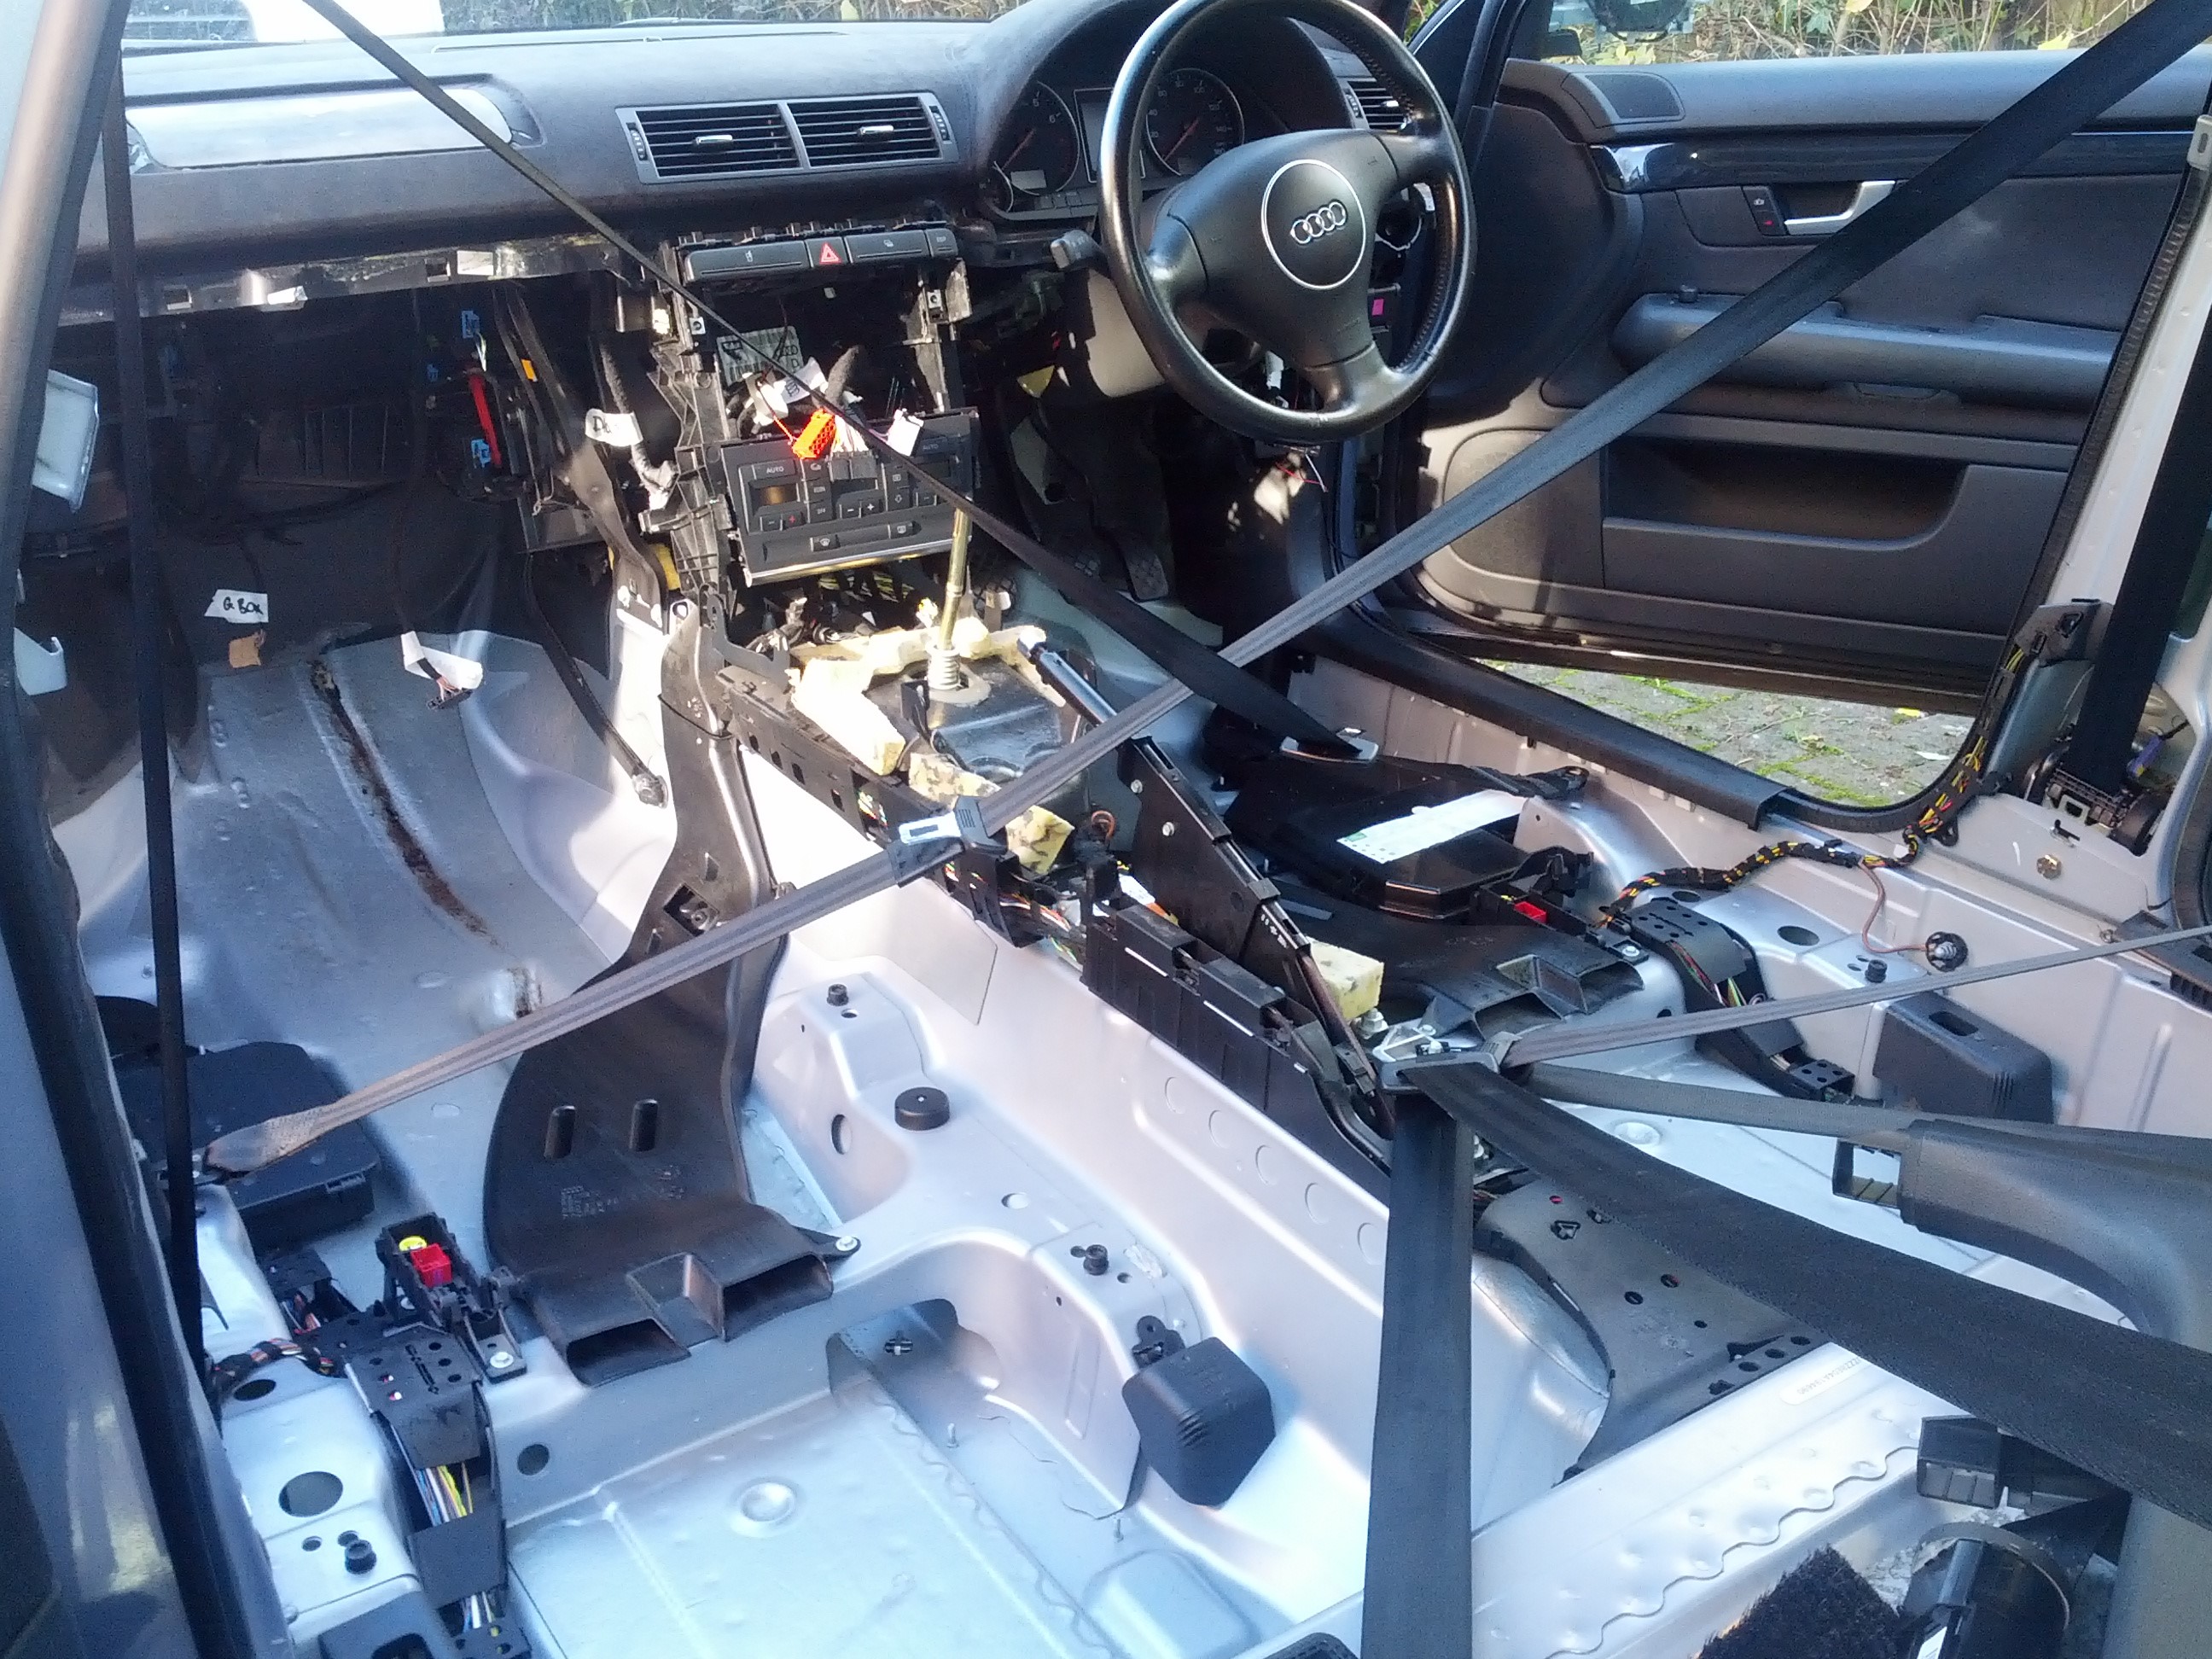
The carpet was tackled the following day. I didn’t want to leave a damp carpet to dry in the car, so it had to come out. With the centre console out of the way, you will find that the carpet joins at a couple of points under a bunch of cables and fixings. As all this is completely hidden under the console I just cut the carpet at these two locations before unscrewing the lower vent and philips head screw in each front footwell.
The carpet is hooked into place at several points under the lower door trim pieces and b-pillars, so I needed to pull these up to release the carpet. Now with nothing holding it in place but a couple of lines of adhesive in the front footwells I just pulled back on it until it came free, folded it in half and took it out the front door. It’s heavier than I expected with all the foam moulding underneath.
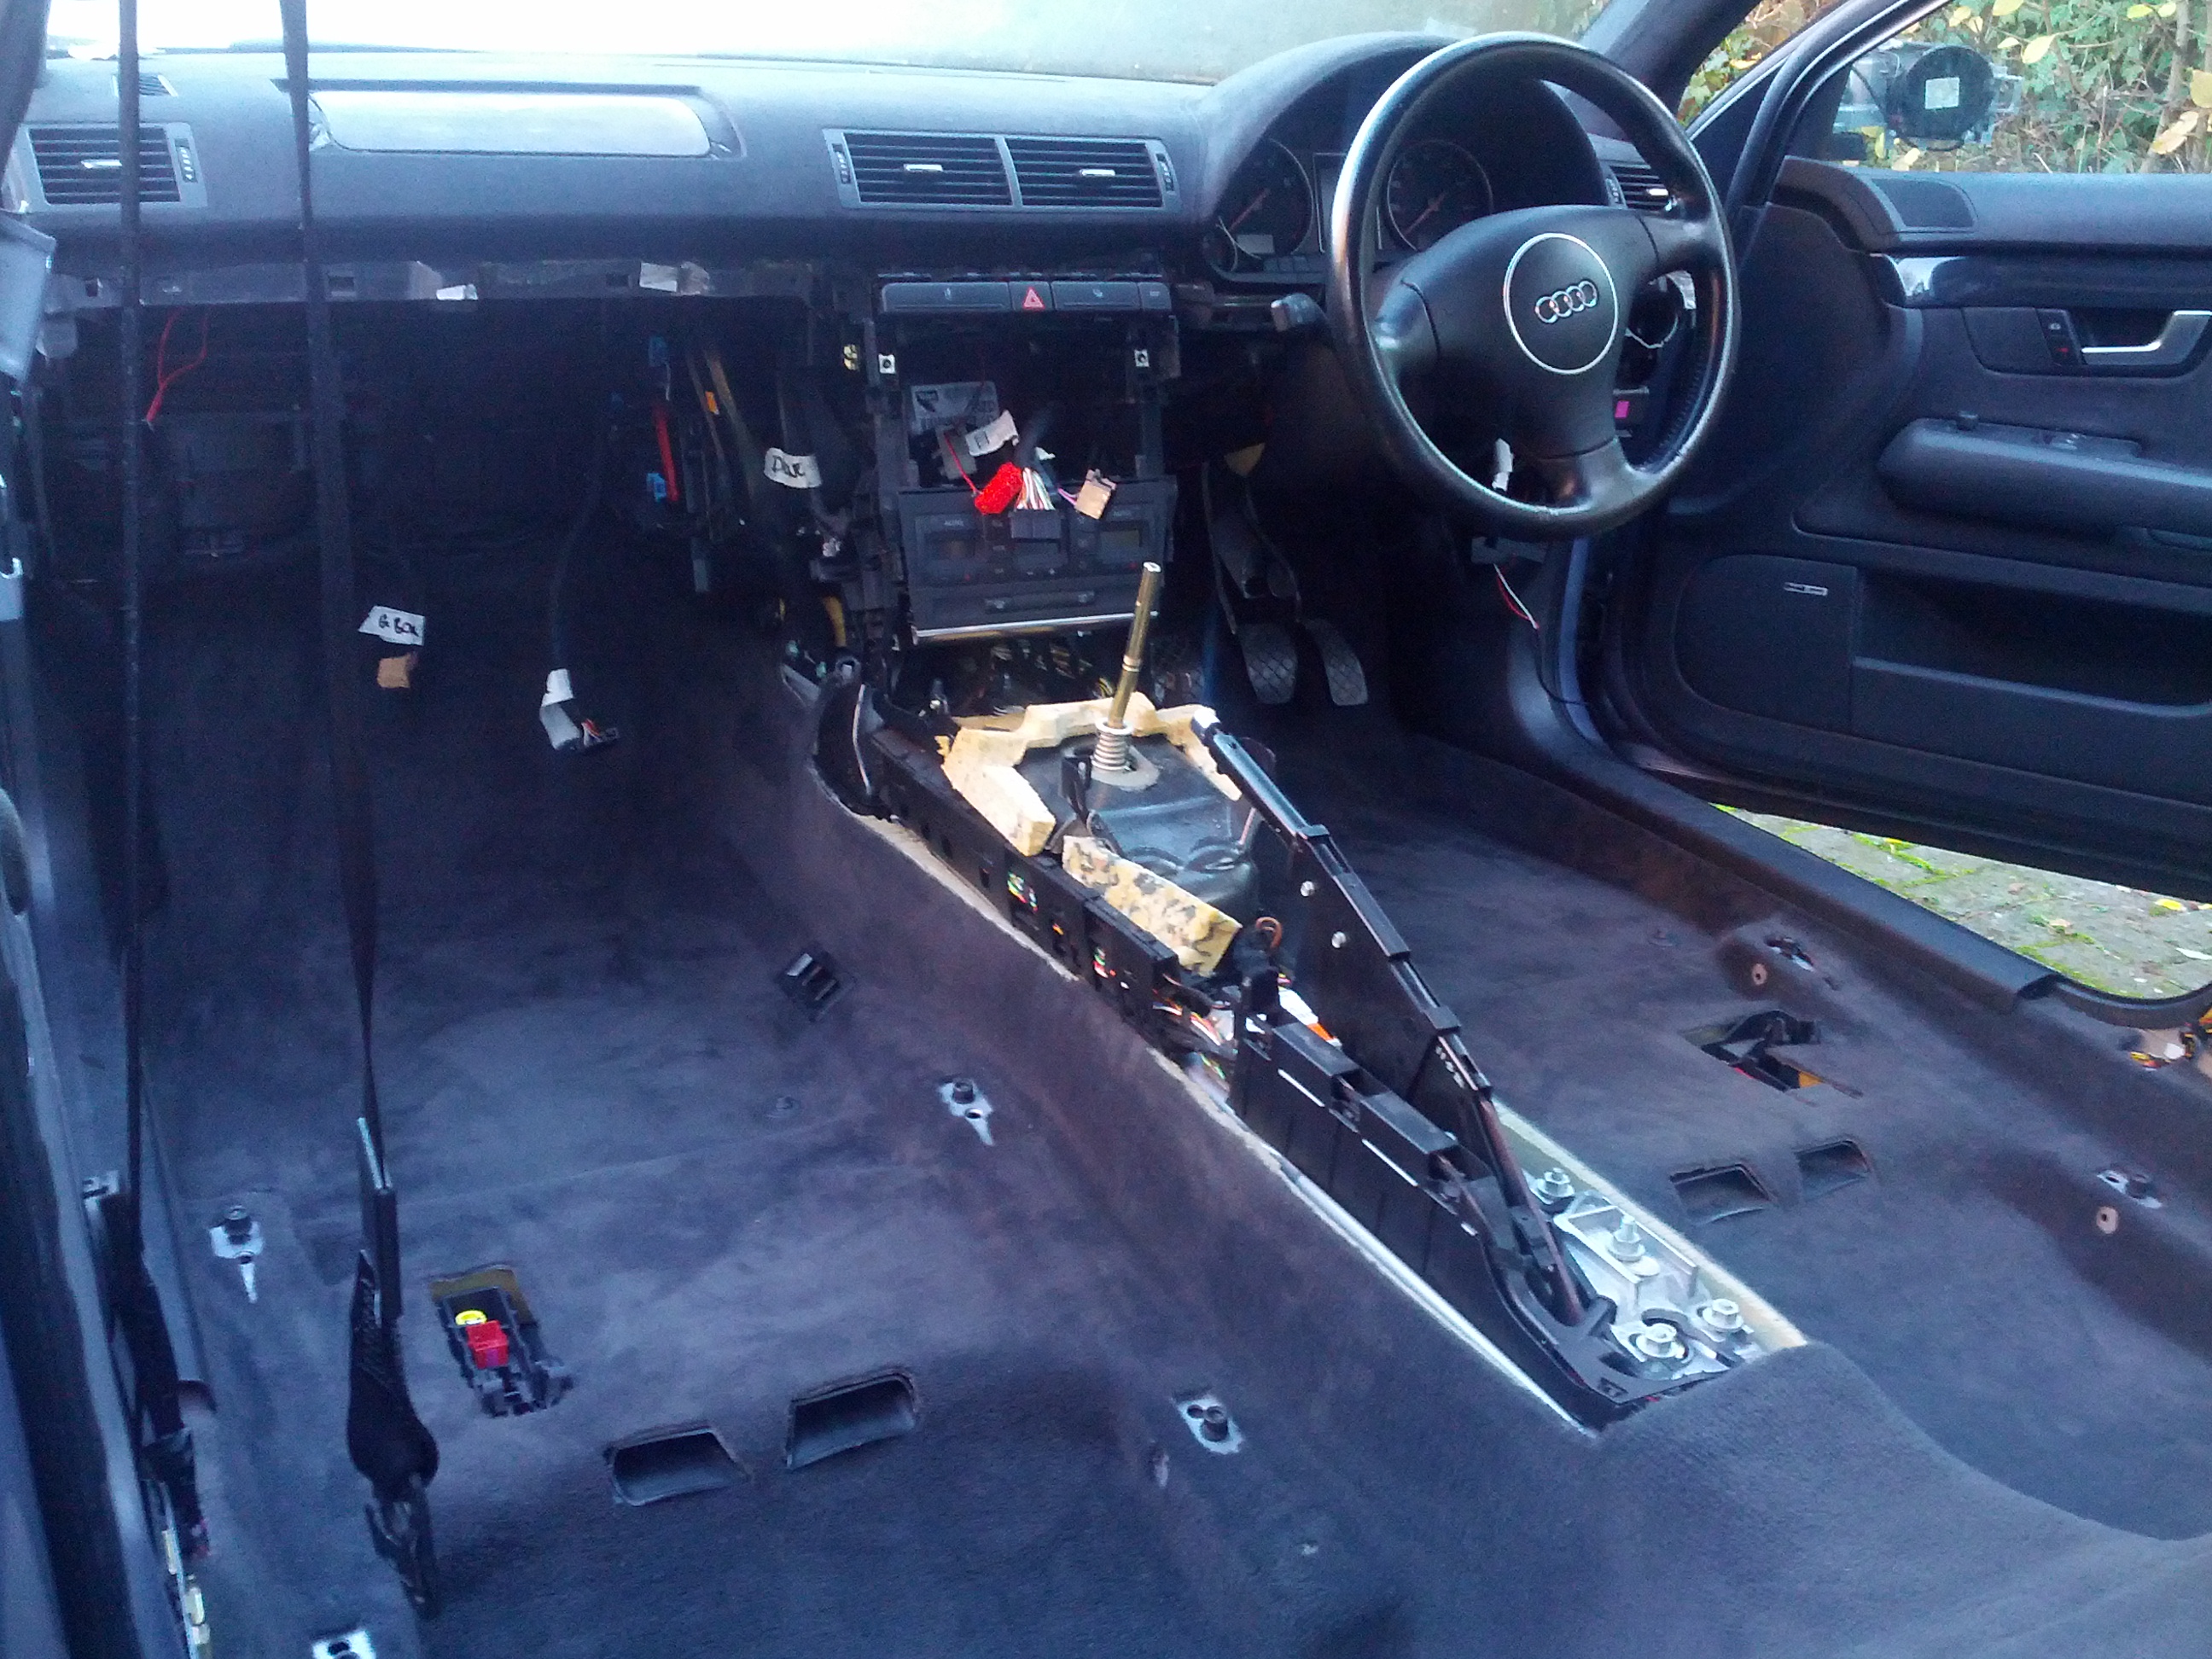
I cleaned the seatbelts next so here you see the carpet out and the seatbelts stretched out to dry. As you don’t remove your car carpet every day I took the opportunity to vacuum the whole thing out, spotless.
Same process with the carpet as with the seats, but it’s a more complex shape and more difficult to vacuum the cleaning solution out of the tight corners. Amazing how much crap it sucked out though, it was gross!
I left this to dry over night with a heater on, it didn’t dry as well as the seats but by the afternoon I was happy enough to fit it back into the car.
Really can’t believe how well it turned out, looks and feels like new!
By the time I’d got the passenger seat back in it was getting dark, so the rest of the seats and photos of the end result will have to wait for another day.
Overall I am really impressed with how the Bissell carpet cleaner dealt with car upholstery. I wasn’t expecting it to be anywhere near as good as it turned out to be. Though I wouldn’t have bought one especially for the job, renting one for a weekend would be money well spent if your cloth interior is looking a bit tired. Or just borrow your mum’s 😉
// Matt