I got my beautifully trimmed dash back from Luke at Plush Automotive on Friday night, along with my centre console. After months of searching for a good, reliable trimmer I’m really pleased I went to Plush as Luke’s done a great job.
It was really important for me to make sure the dash passenger airbag would still be perfectly functional, which can be a problem when you glue Alcantara over the top of it. The first trimmer I was dealing with said they’d use break-away stitching to allow the airbag to deploy, which sounded fine to me. But weeks would go by without getting responses to my emails and no one ever answered the phone when I wanted to arrange delivering the parts to them, so I started looking elsewhere which is when I eventually found Plush.
Luke had already done an Alcantara dash in the Plush B7 RS4, but had covered over the airbag and just turned it off. Fine for a show car, but not ideal for a daily driver like mine.

Going over what I wanted with Luke he said break-away stitching isn’t something he wanted to get involved with as there’d by no guarantee it would work, which is fair enough. So I could either abandon the idea (nope!) or figure out another way, so I looked at how the high-end manufacturers did it.
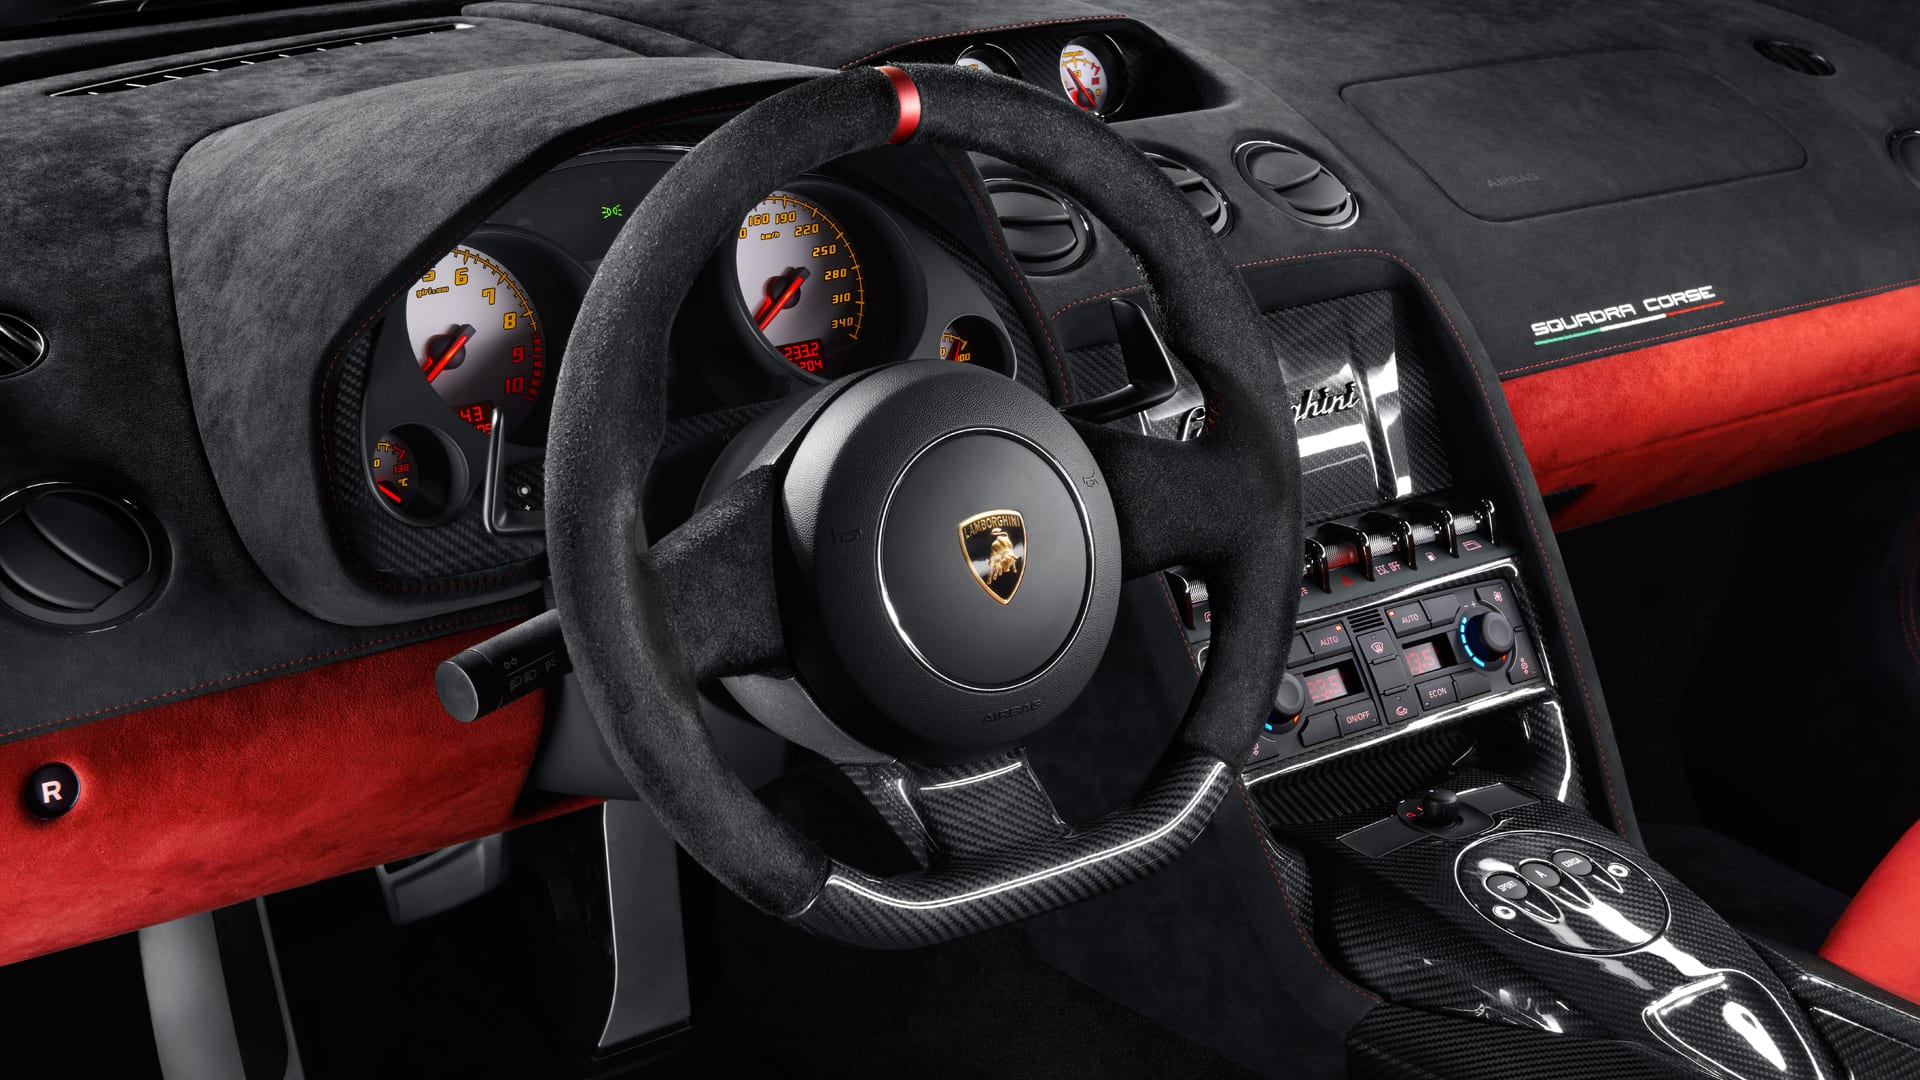
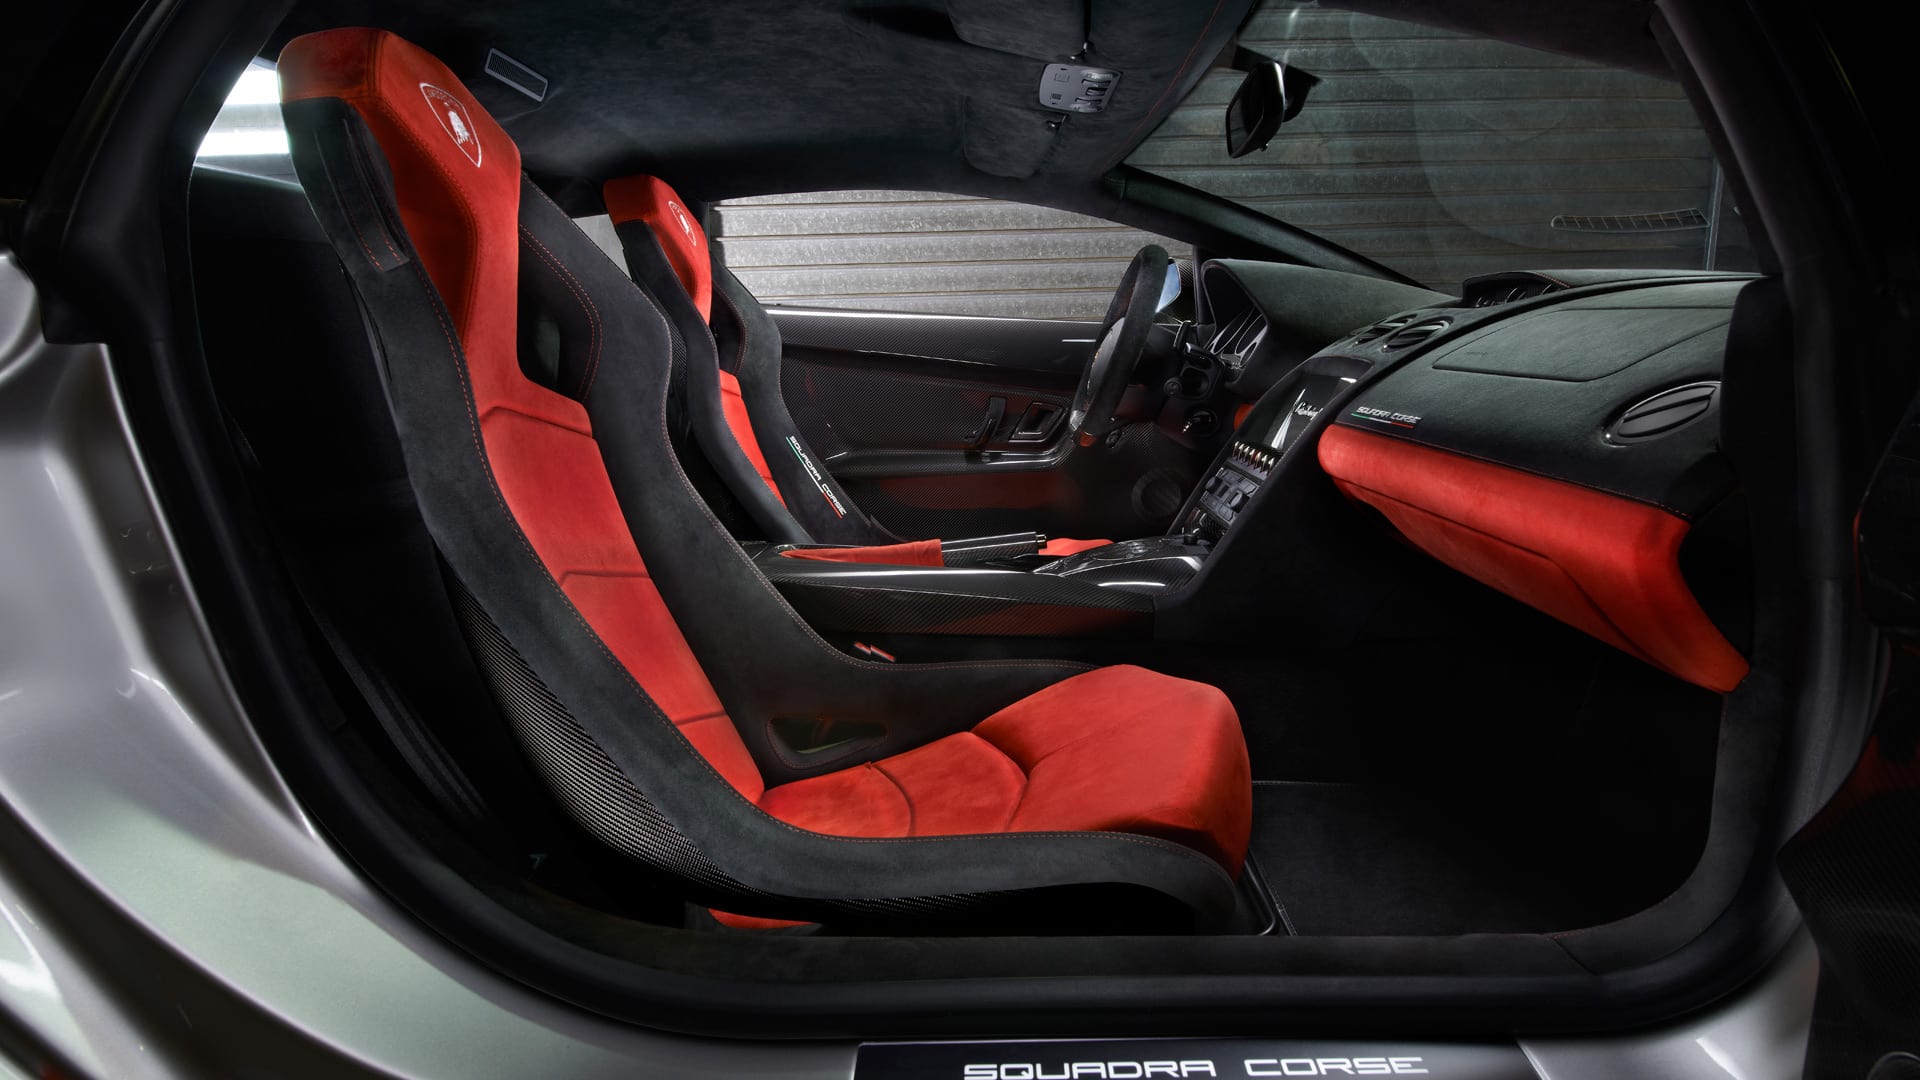
Lamborghini seemed like a good place to start, and their passenger airbags had a separate cover that sat flush in the dash.
Stupid as I am, this seemed like something I could easily replicate with limited funds, skills, materials and tools. Describing the sketchy details of my plan to Luke he said he could deal with it, so I got started.
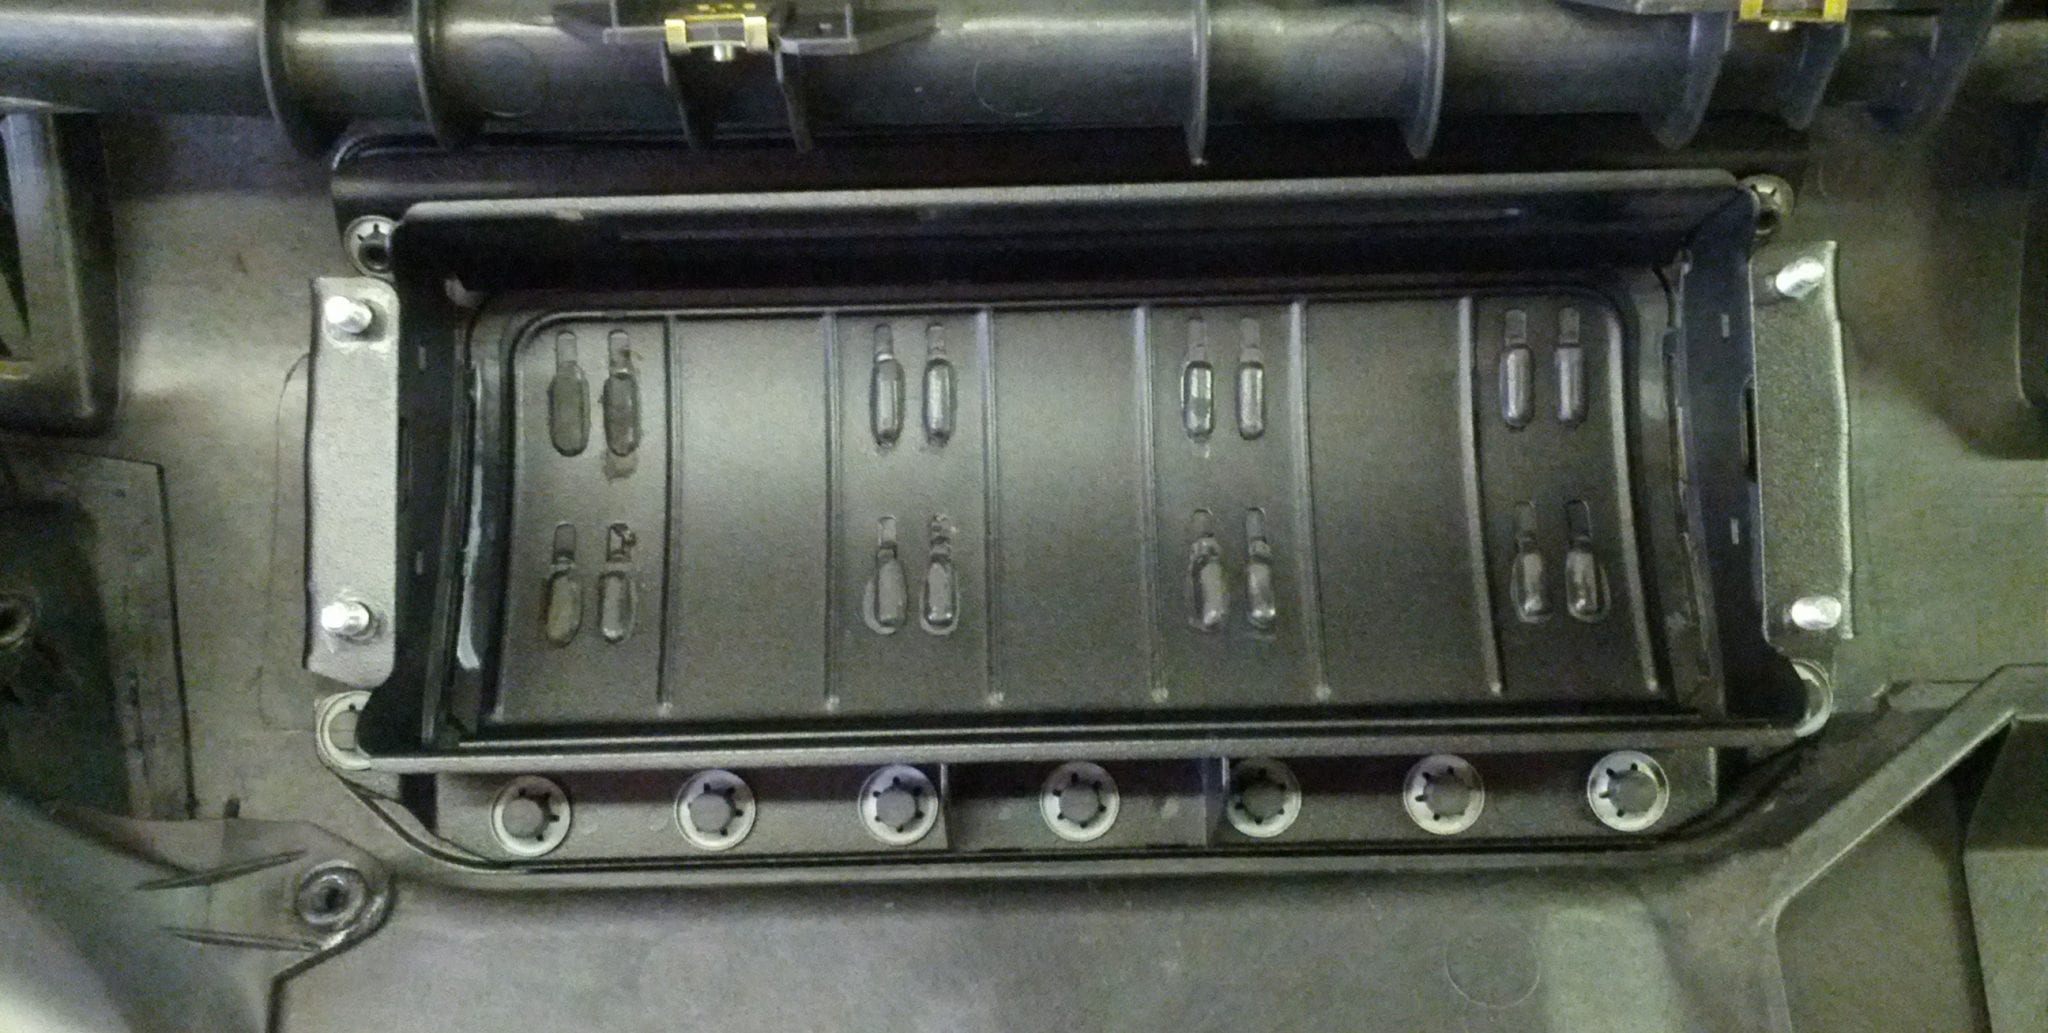
First the airbag needed to be removed, this is just four nuts (and if you’re going to mess around with your airbags, at least wear some eye protection).
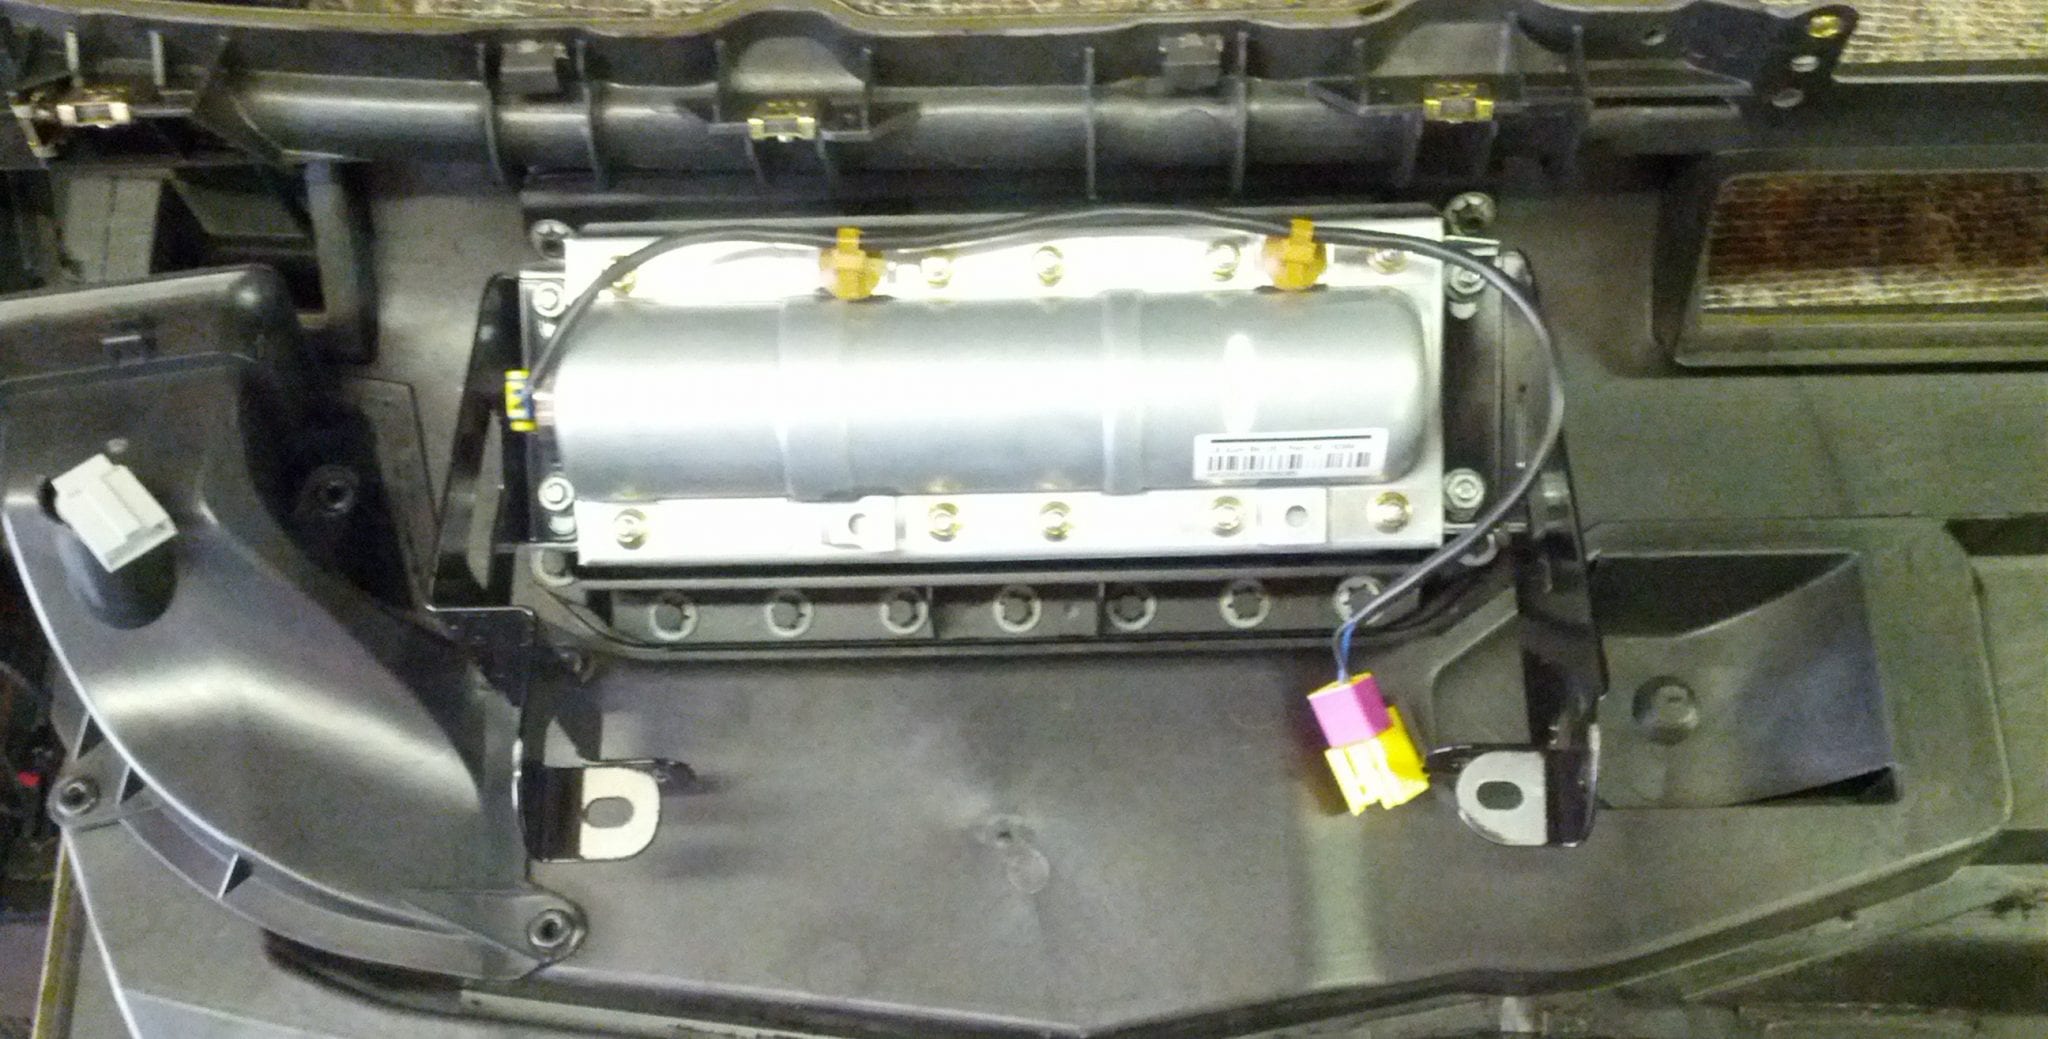
After the airbag was out of the way I had its housing to deal with. This is bonded to the underside of the dash, and fixed with a bazillion star washers. I cut off the washers with pliers so as not to damage the plastic nubs they grip onto. Those 8 pairs of plastic welds needed to be ground off, then I waved a heat gun over it while prising it off with a selection of long screwdrivers.
[EDIT: 04.04.2014]
In retrospect, I don’t think you need to grind off the plastic welds. Leaving the housing attached to this section will give a better result. Just cut this section of dash out as described later on, then the airbag housing will drop free.
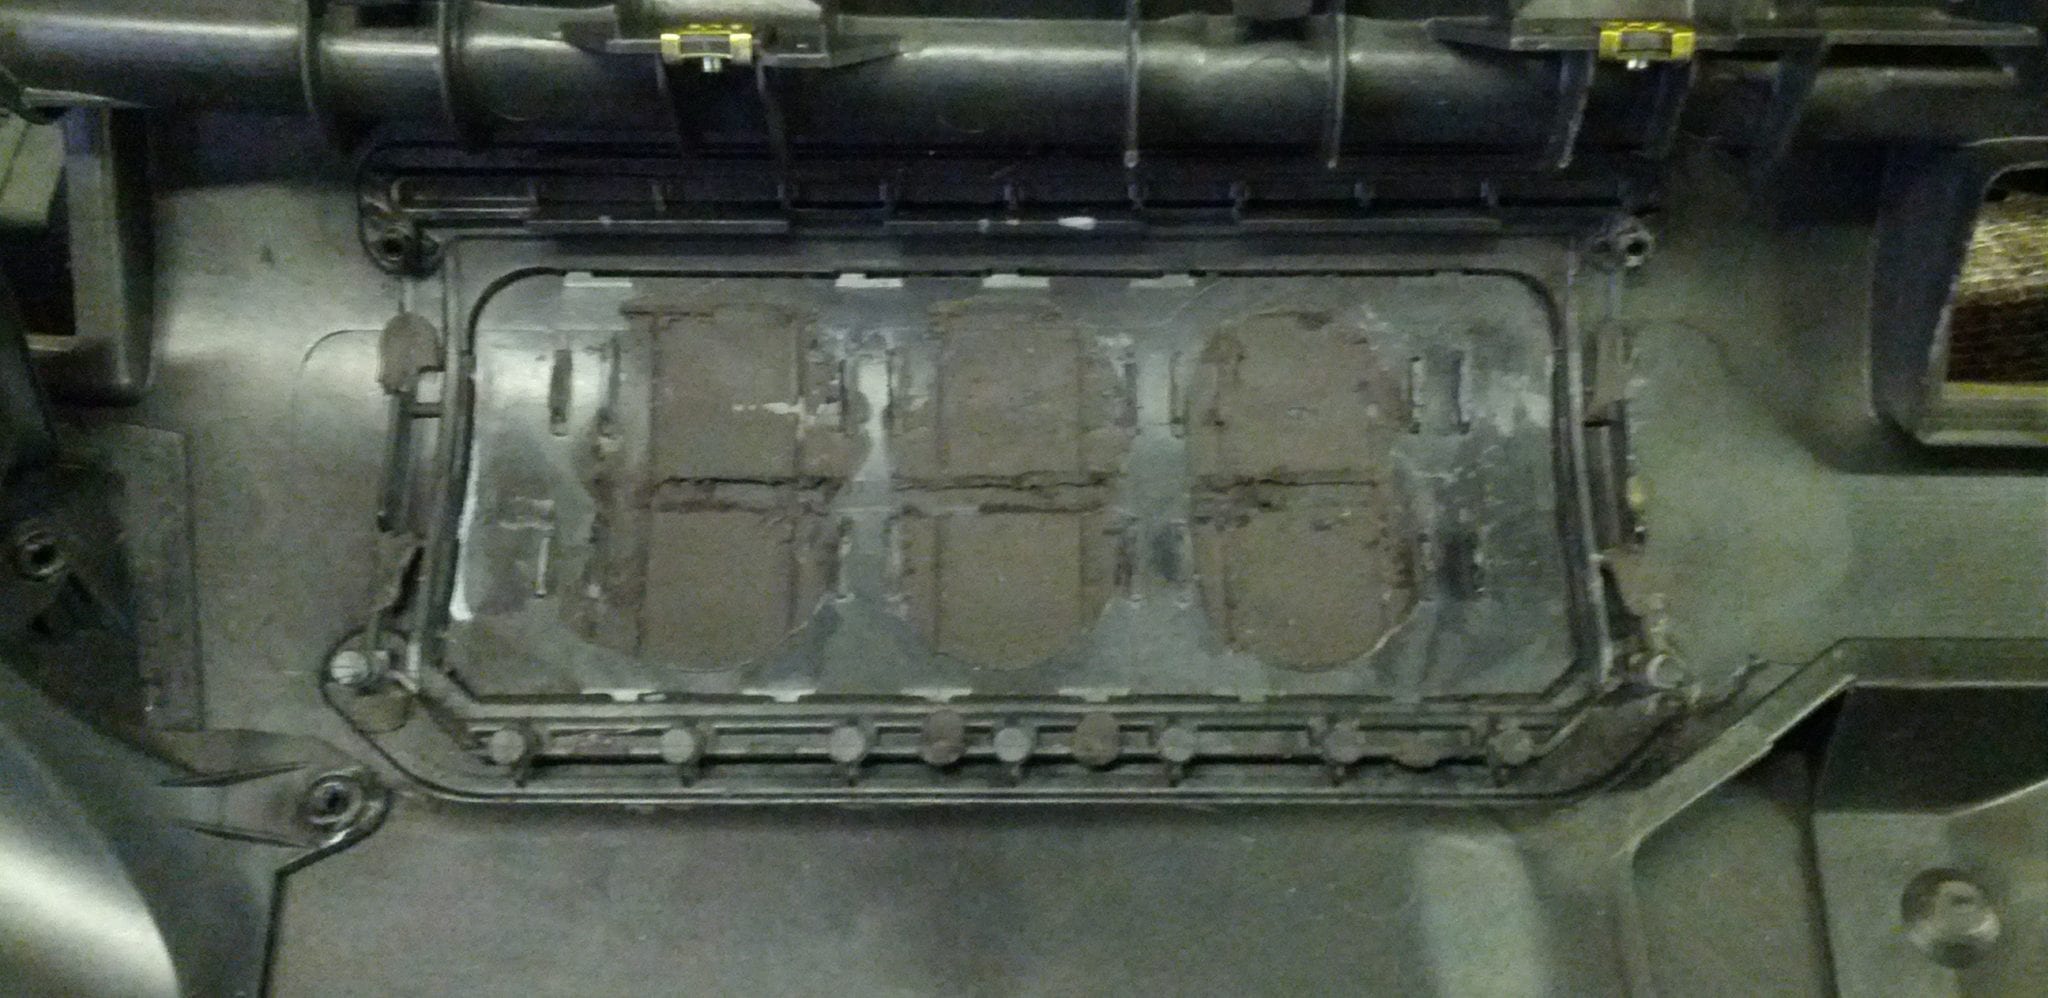
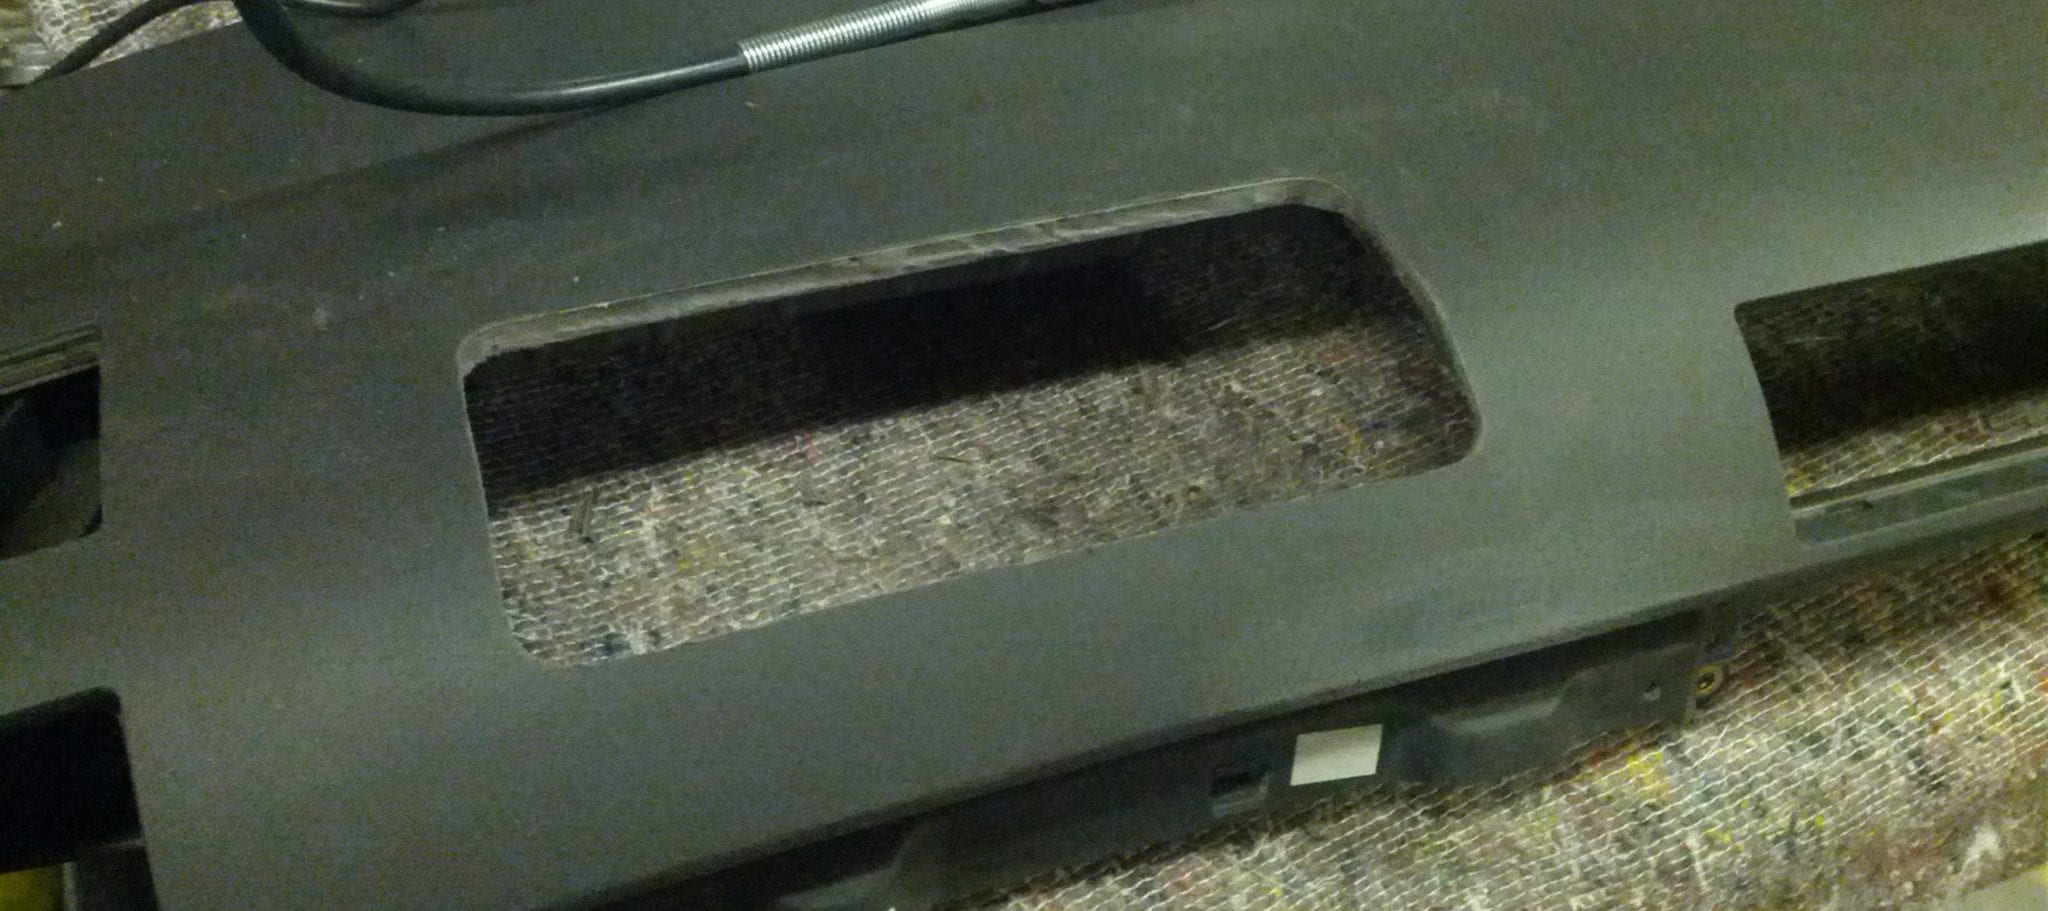
Airbag housing removed. You can see the outline where the airbag is intended to break though the dash. I would need to cut this out later, but first I had to take a mould of the dash.
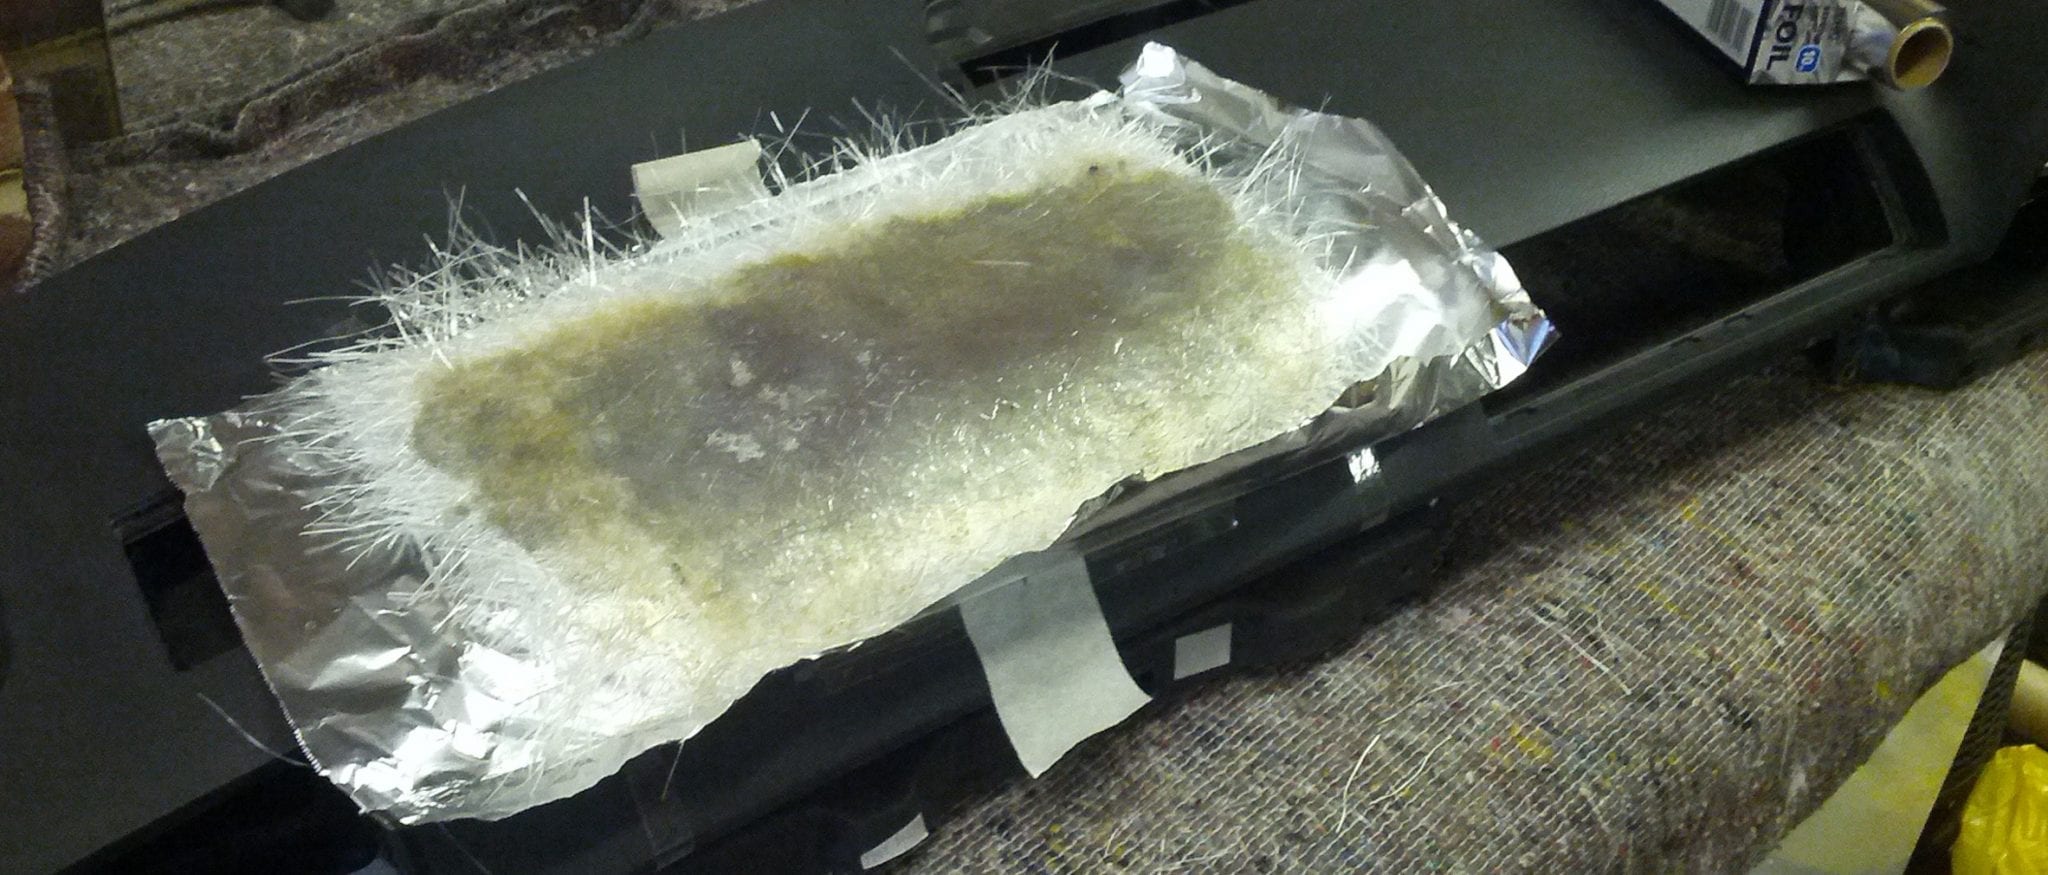
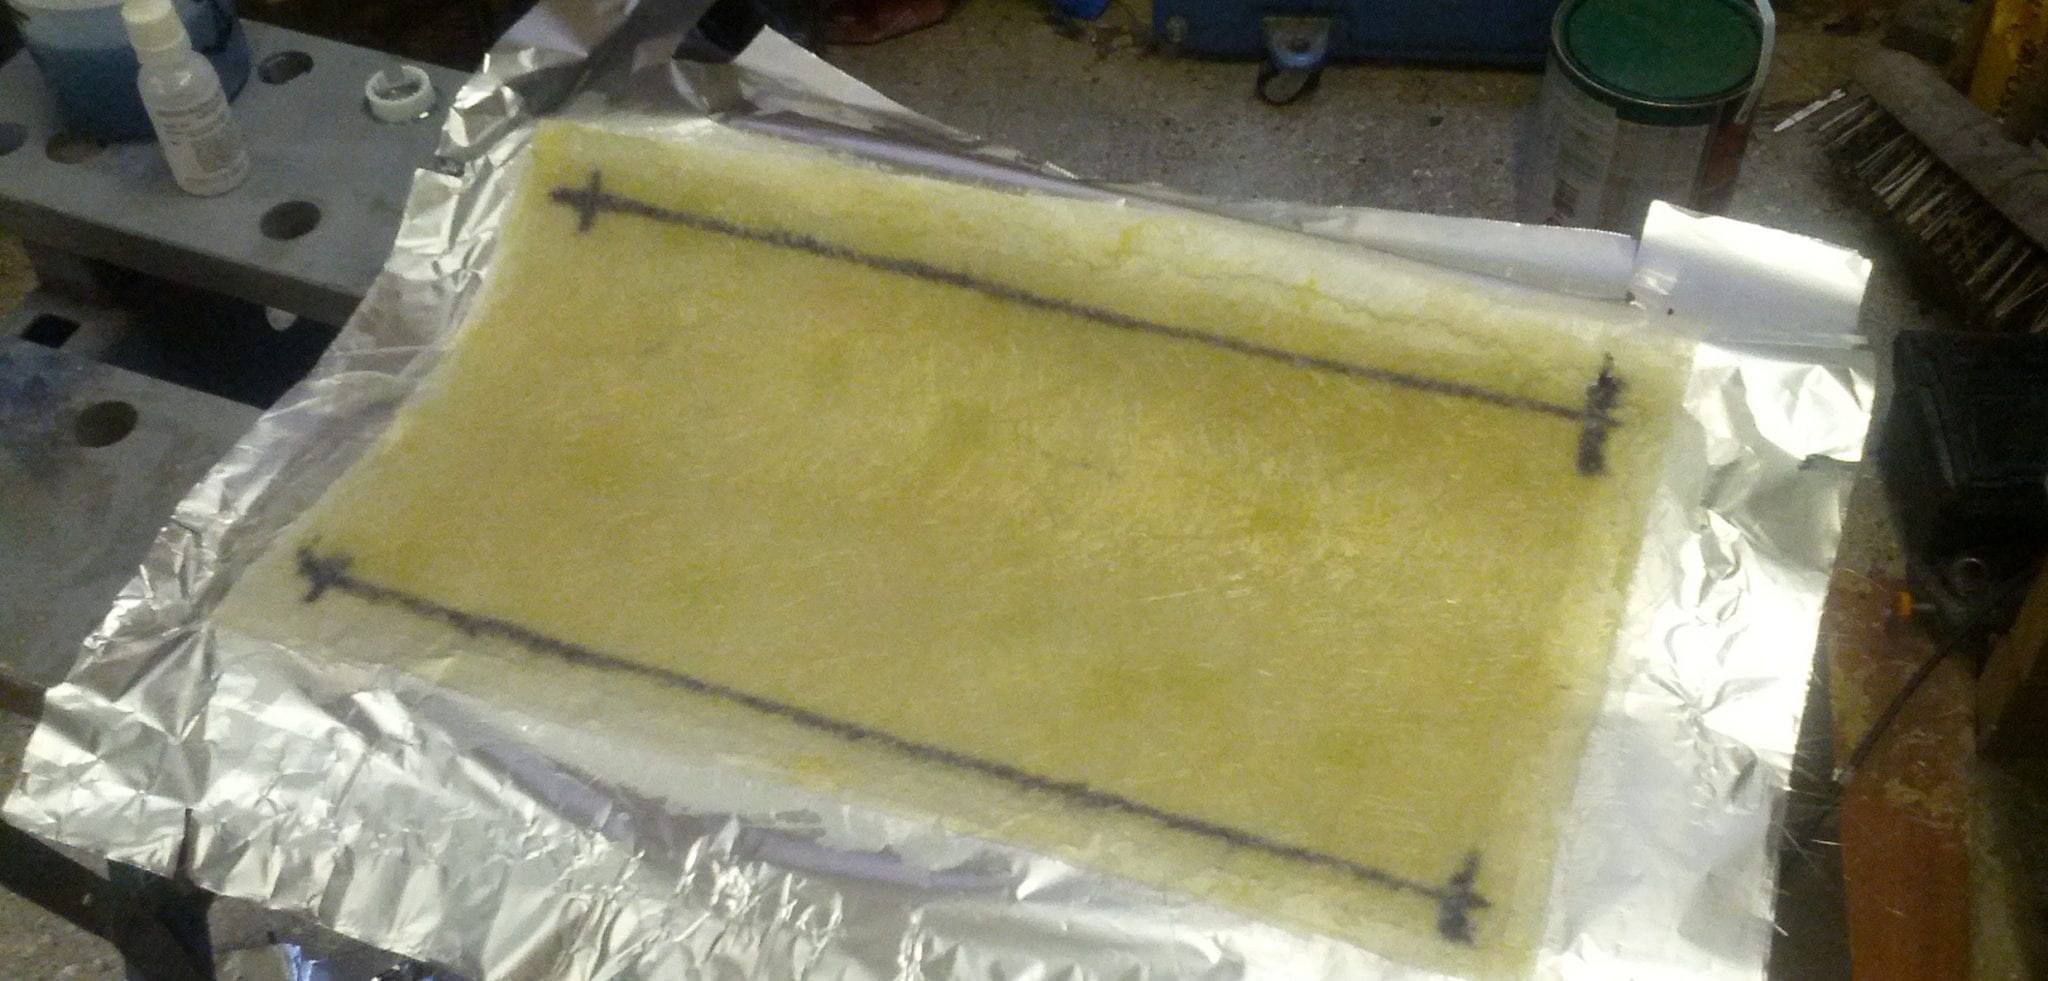
I stuck foil over the dash with double sided tape and laid fibreglass over it. I know there are better products to do this but this is all I had to hand.
With a near perfect mould of my dash I could start hacking it apart. Cutting from the reverse side with a Stanley knife, I followed the outline of the section that’s designed to break open. It didn’t need to be particularly neat.
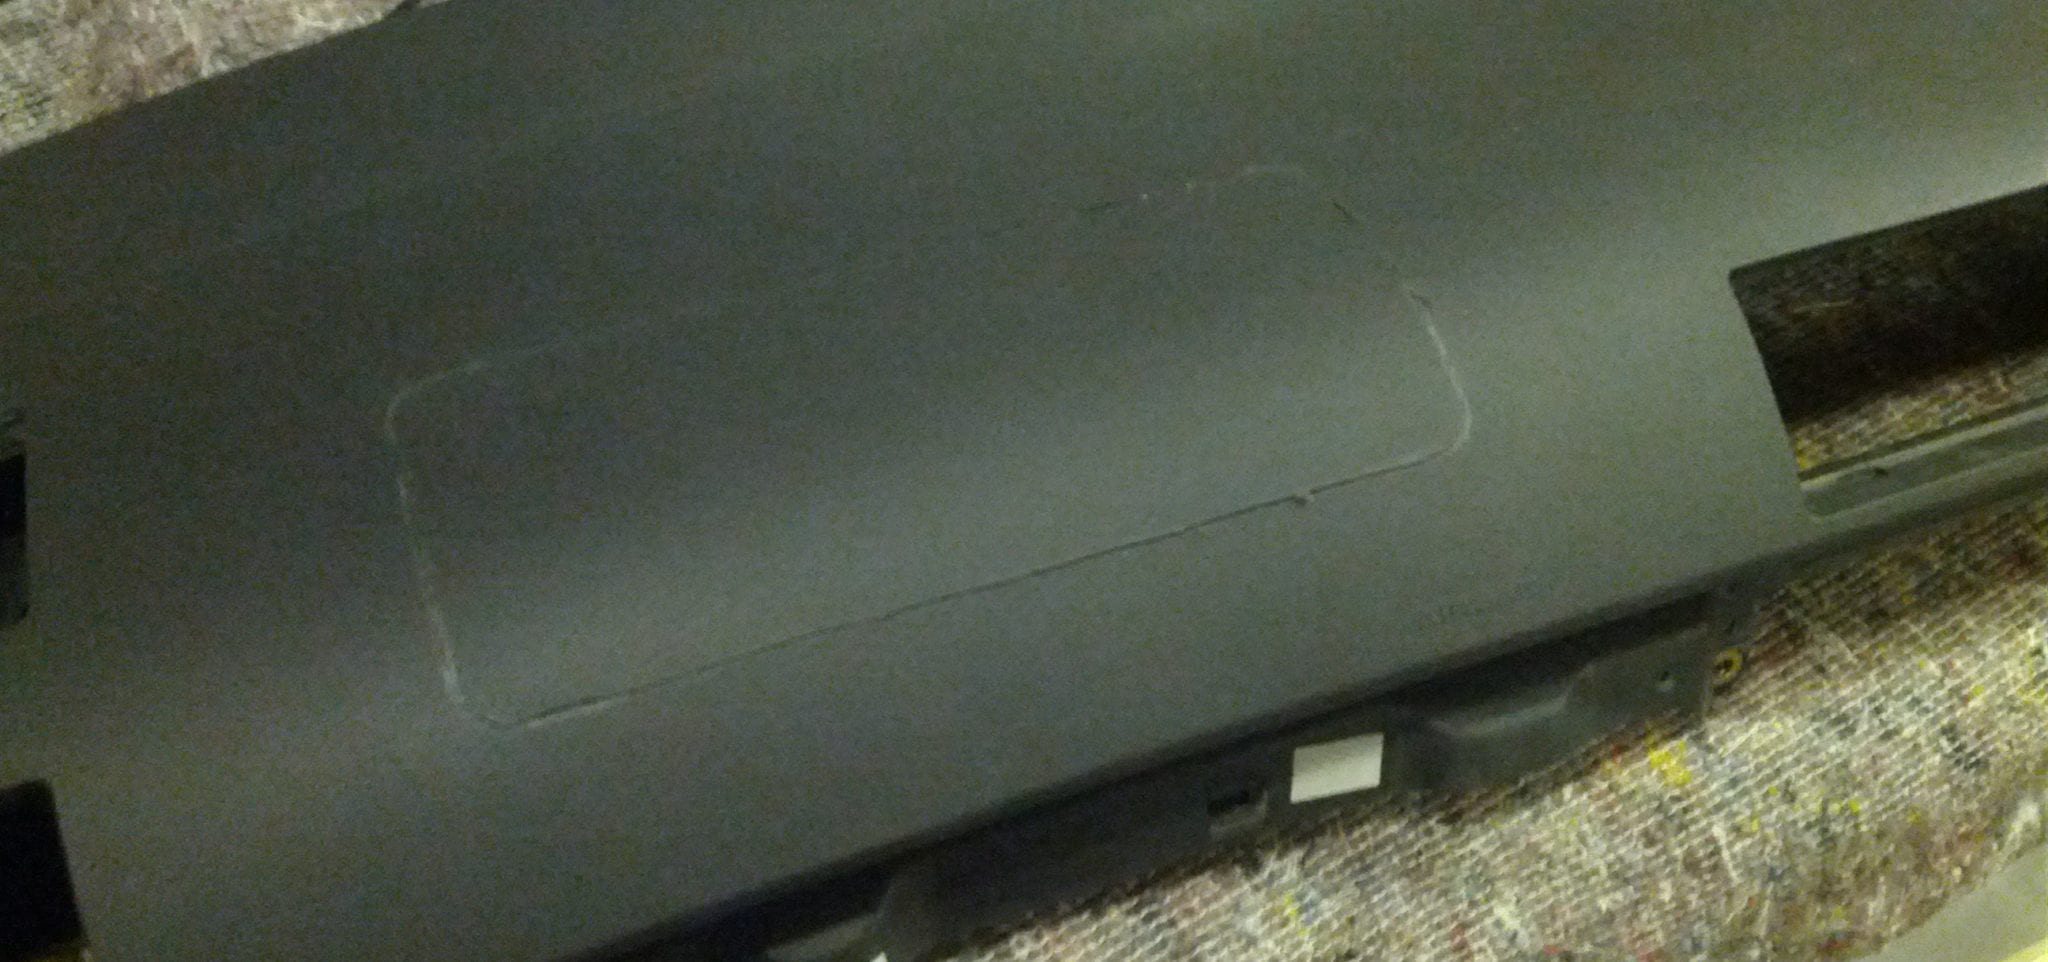
It’s mostly foam and vinyl, but there are several plastic joins to cut through, small enough to snap under the force of the airbag, so not very difficult to cut. Once I’d made it all the way around it just lifted out.
With that out of the way I had to figure out how big my cover was going to be and where exactly I was going to position it over the gaping hole I just made. This was basically a trial and error process of measuring, marking out, measuring, until my OCD was satisfied.
The right edge is in-line with the right edge of the quattro badge, while also being of equal distance from the adjacent vents. The bottom edge lines up to the centre of the vents. It’s the little details like this that I hope will keep it looking OEM.

With it all marked out, I cut down through the vinyl/foam covering to the hard plastic layer with a scalpel and metal ruler. I cut the corners at 45 degrees…

…then rounded them off with the Dremel. I also went over the edges with sandpaper to round these off a little too.

Then I had to make the cover. I stuck foil onto my dash mould and roughly marked out the size before laying down the fibreglass; two layers of finishing cloth to start and 2 layers of medium chopped matt. It needed to be thin enough to sit flush with the dash so I couldn’t use too many layers.
Once it had cured I cracked it out of the mould and filled in any imperfections left by the foil with plastic bumper filler and sanded it down smooth with 280 wet/dry. It’s probably only around 3mm thick, but feels strong with a very slight flex to it.
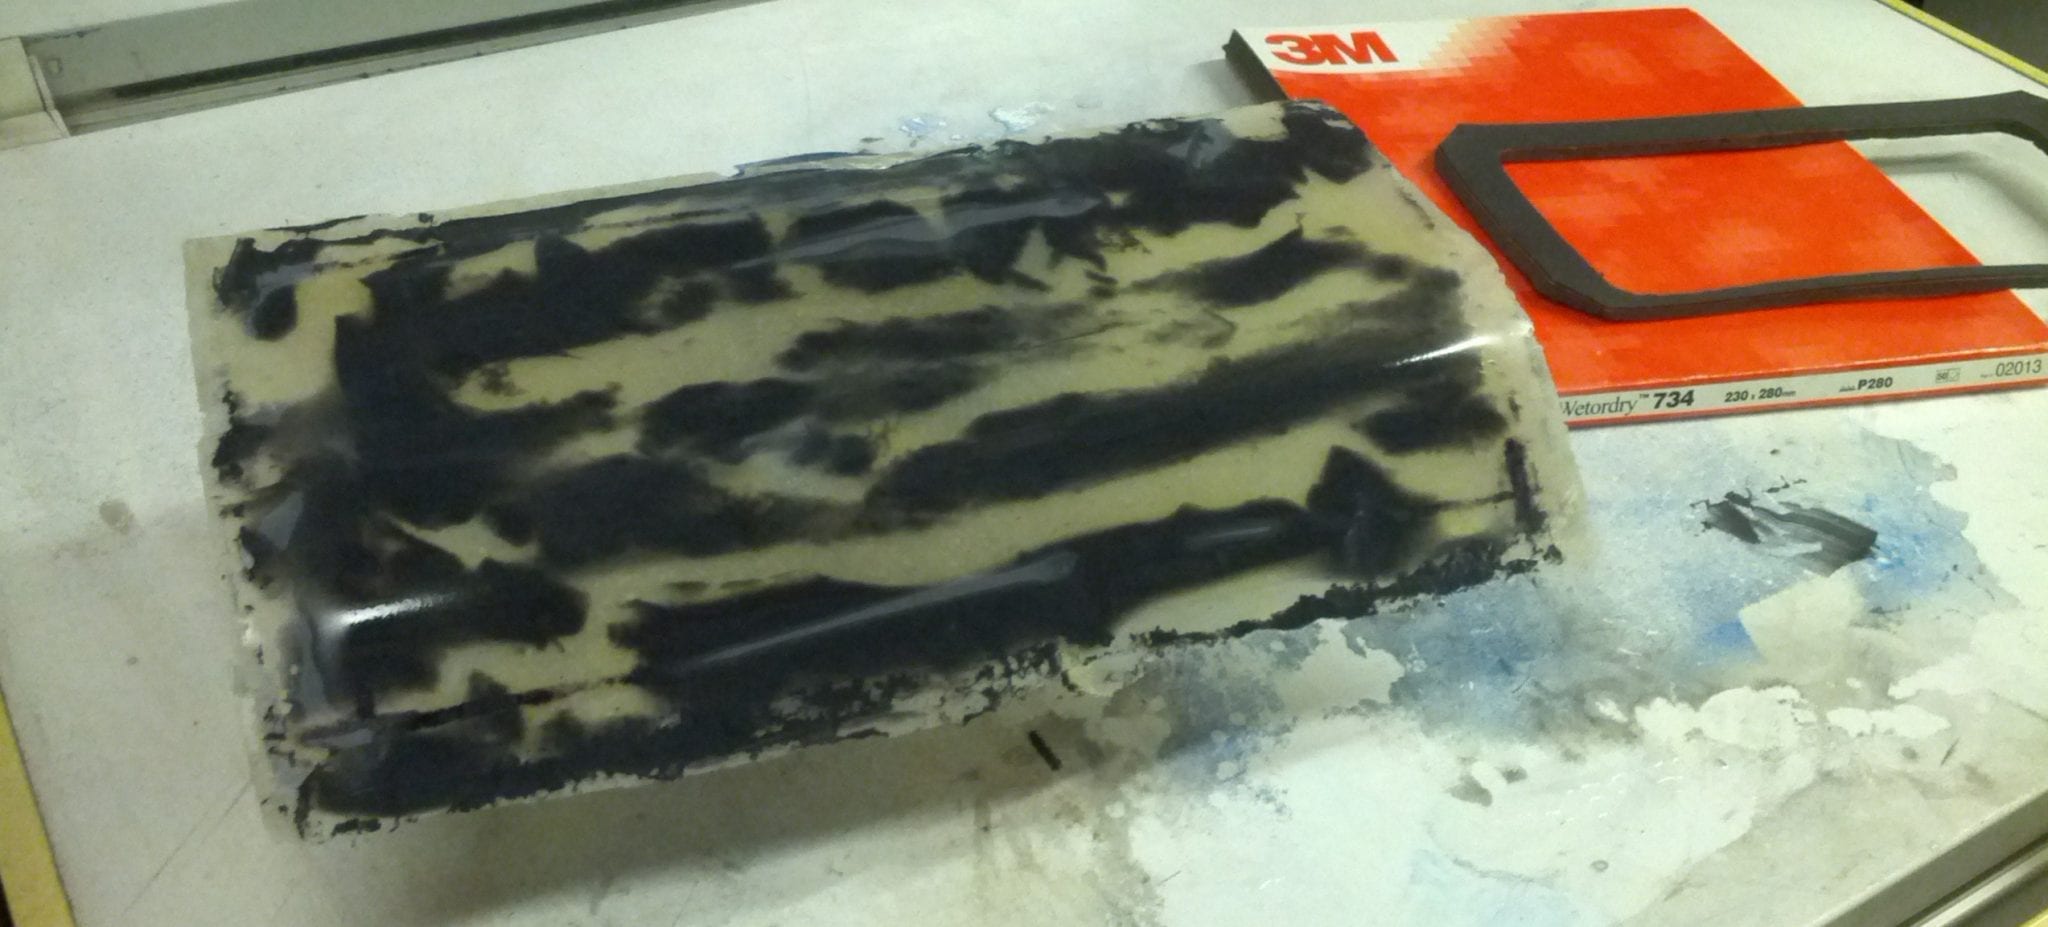
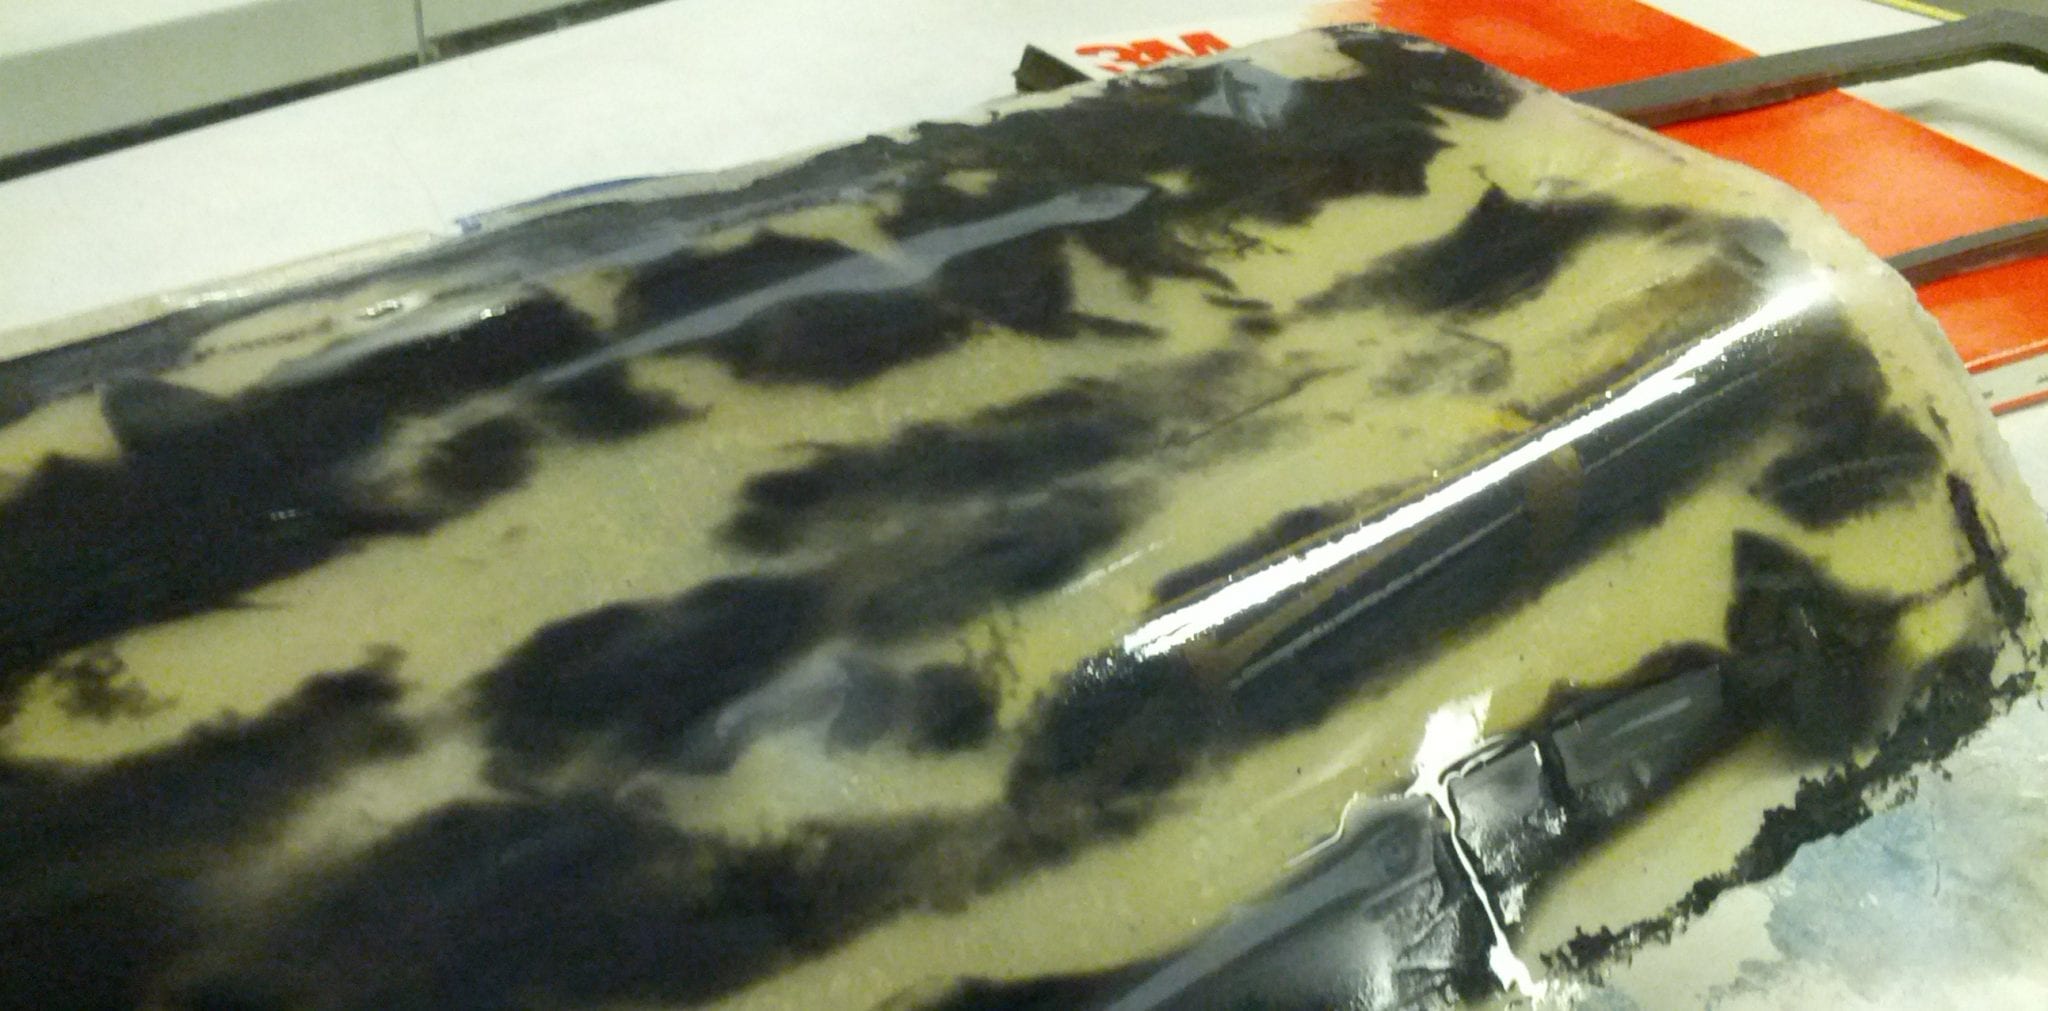
It looked like a really bad camo design, so I gave it a quick coat of grey plastic primer. With that it was ready to be cut down to size, but at this time the dash was at Plush 60 miles away so I had to wait until I had it back before I could continue.
When I did get it back, I had to wrap it in polythene so I wouldn’t mess up the Alcantara while I worked on the cover. I wasn’t brave enough to just cut it right down to size, so I took about an inch off each edge, then used a sanding block to take off a few millimetres at a time, until it slot into the dash perfect.
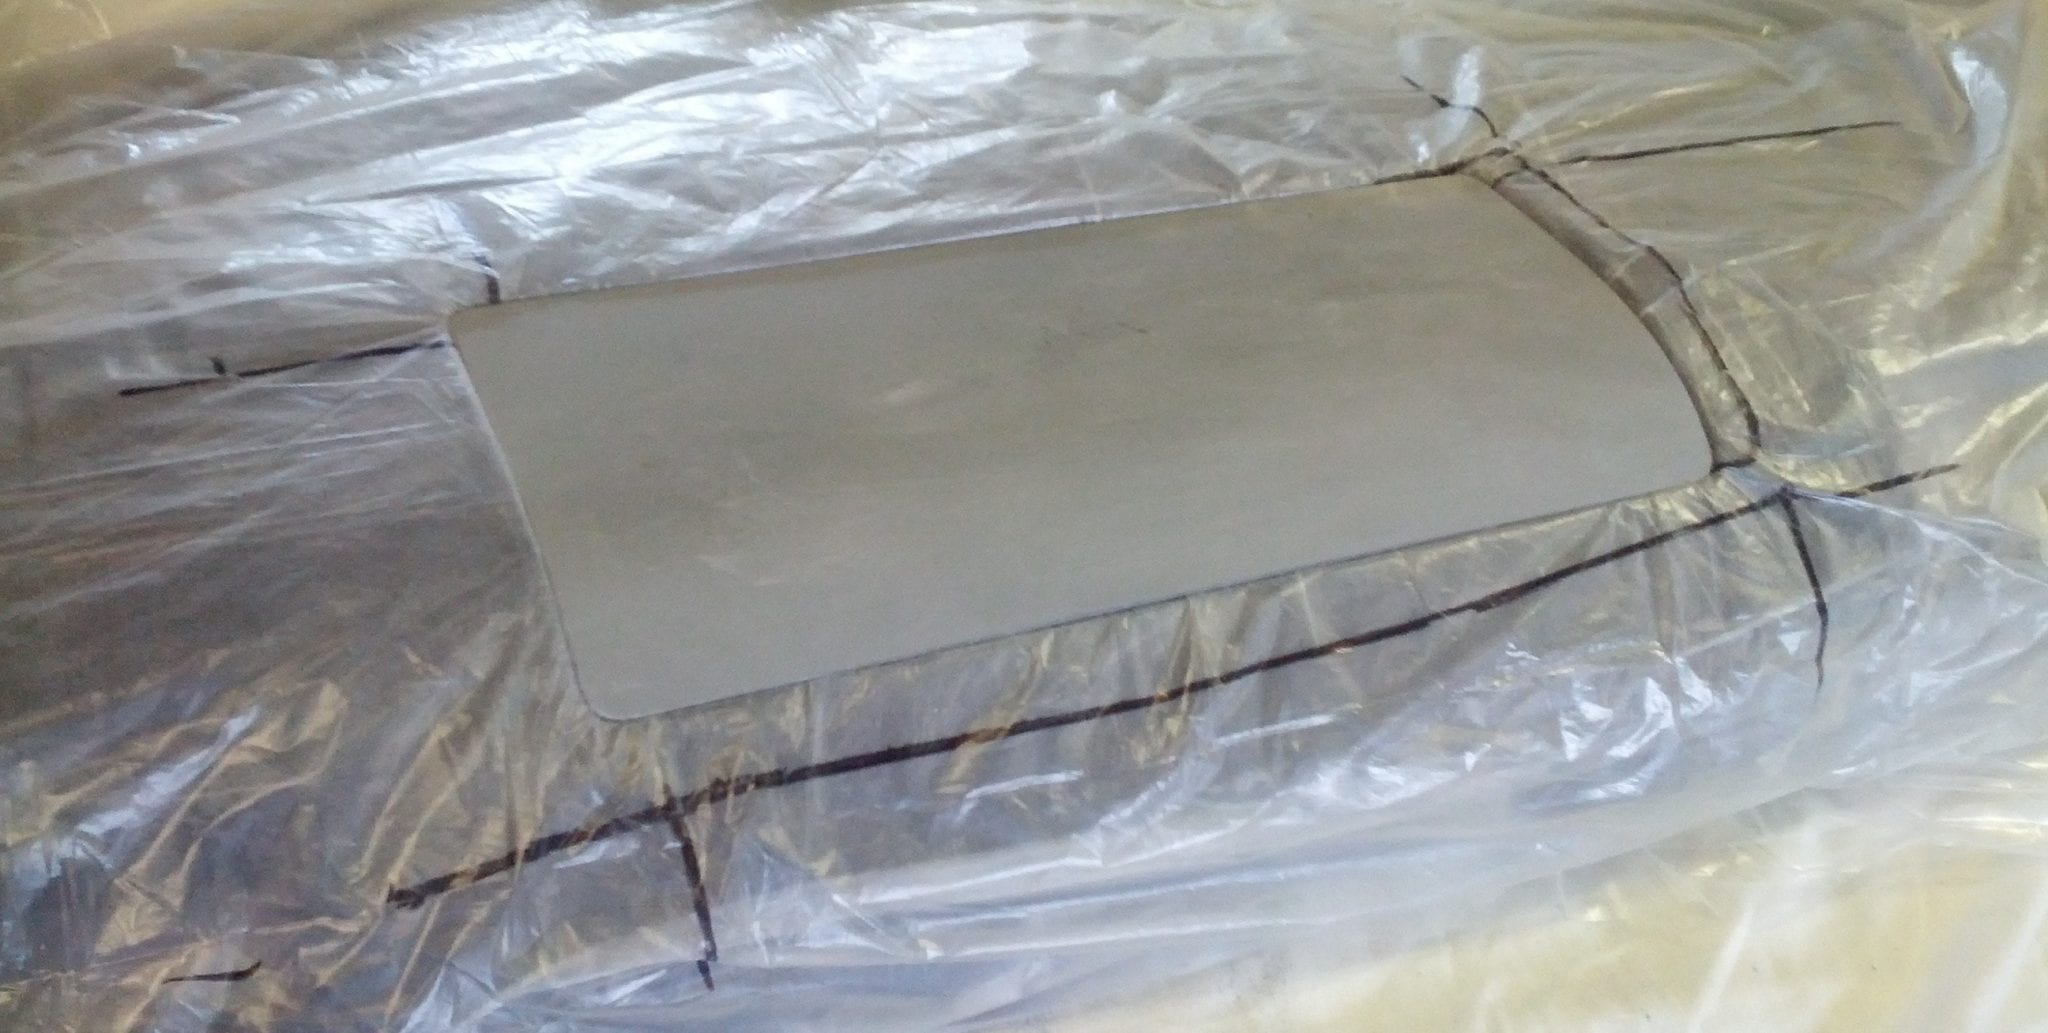
After I got it all cleaned up I could give it a test fit without the polythene. I put a couple of the vents in too, to get more of an idea what it will look like finished.

Just one last detail required for that OEM look; the ‘airbag’ logo. I sketched out the positioning, lining up the edges with the vents but I’m not entirely sure about what size to do it yet.

I couldn’t find the airbag logo anywhere online, at least not any version or file format that was workable so I ended up making my own. If you need it you can download the EPS here: Airbag logo vector.
Now I just have to finalise the size/placement and get it mailed out to Luke asap.
// Matt
can you say me what solution you used for catch skin?
thank you
High temp fabric adhesive. Comes in a tin as is applied with a brush.